By Pet Tech Compass Editorial Team
Last reviewed: August 3, 2026
An automatic feeder handles food every day, but its hidden surfaces are easy to overlook. Saliva remains on the bowl, kibble leaves oil and crumbs, and fine food dust can collect around the outlet and rotor. In a wet-food feeder, residue can spoil much faster.
Cleaning is not only about appearance. Buildup can create odors, attract pests, make food less appealing, and interfere with sensors or dispensing parts. The safest routine separates the parts that touch food from the base that contains the motor and electronics.
A Practical Automatic Feeder Cleaning Schedule
| Part | Starting schedule | Clean sooner when |
|---|---|---|
| Dry-food bowl | Daily | Food is oily, the cat drools, or residue is visible |
| Wet-food tray | After every use | Immediately after leftovers are discarded |
| Outlet and feeding mat | Check and wipe daily | Crumbs, saliva, spills, ants, or food dust appear |
| Hopper, lid, and rotor | Follow the product manual; inspect at every refill | Changing food, odor, grease, moisture, dust, or dispensing changes |
| Motorized base and sensors | Wipe as needed with the feeder unplugged | Dust or residue blocks a sensor or reaches a seam |
This is a starting schedule, not a replacement for the manual. Materials, seals, dishwasher compatibility, rotor removal, and water resistance vary by model.
Why the Bowl Needs More Frequent Cleaning
The bowl is exposed to saliva at every meal. Even when it looks empty, a thin film can remain on plastic, stainless steel, or ceramic. The CDC’s pet-supply cleaning guidance gives a simple schedule: clean bowls after every use for wet food and every day for dry food and water.
The FDA’s safe pet-food handling guidance recommends washing food bowls and measuring utensils with soap and hot water after each use. If your feeder manual gives a stricter instruction, use the stricter schedule.

How to Clean a Dry-Food Automatic Feeder
- Turn it off and unplug it. Remove backup batteries if the manual recommends doing so before cleaning.
- Remove the remaining kibble. Return clean food to its original bag or discard food that is damp, stale, contaminated, or mixed with old crumbs.
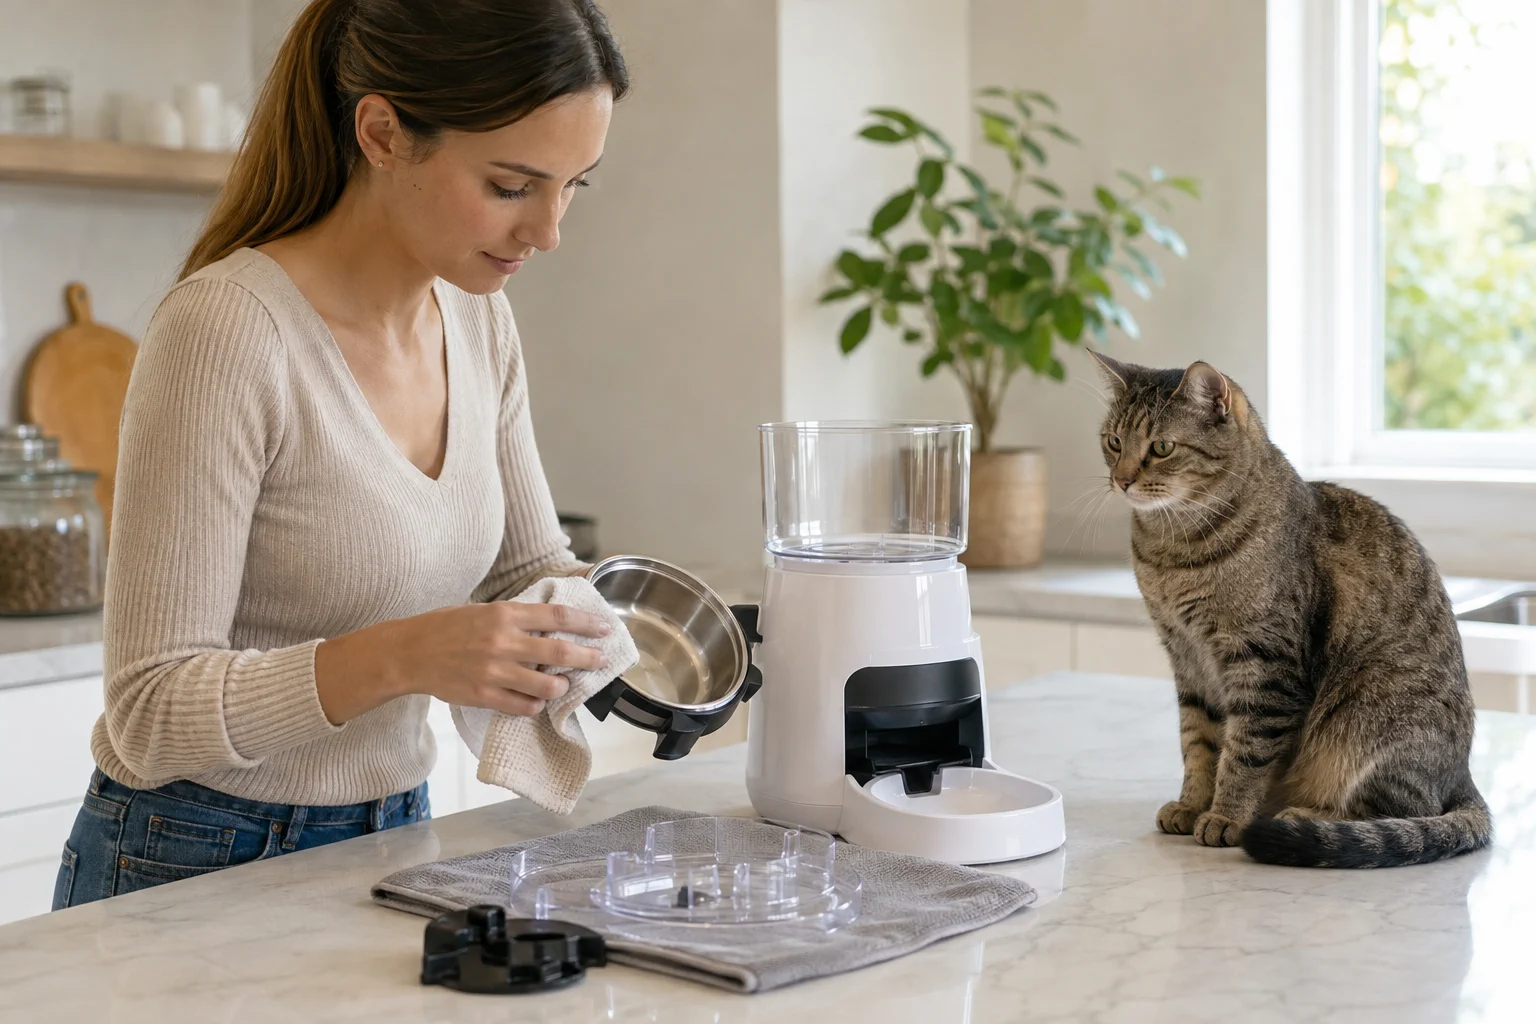
- Disassemble only approved parts. Remove the bowl, hopper, lid, outlet cover, and rotor only as shown in the manual.
- Remove dry crumbs first. A clean, dry brush can reach corners without pushing wet food dust into the motorized base.
- Wash washable parts. Use warm water and dish soap unless the manufacturer specifies another method. Check before using a dishwasher.
- Rinse and dry completely. Water trapped in a hopper or rotor can make kibble swell, clump, or stick.
- Wipe the base carefully. Use a slightly damp cloth. Do not pour water into seams, buttons, charging ports, motors, or sensors.
- Reassemble and test. Confirm the rotor is seated correctly, then run several manual dispenses before restoring the normal schedule.
How to Clean a Wet-Food or Refrigerated Feeder
Wet-food residue requires faster attention. Discard leftovers according to the food label and feeder instructions, then wash the tray after every use. Remove cooling packs or refrigerated components as directed by the manufacturer.
Pay particular attention to lid grooves, hinges, seals, and tray edges. Food can remain in these areas even when the main compartment looks clean. If cooling depends on electricity, clean up promptly after a power interruption rather than assuming the food stayed at a safe temperature.
How Long Can Food Stay in the Feeder?
Temperature, humidity, hopper design, food oils, and exposure to air can affect freshness. Check storage limits before filling the feeder for several days.
Cleaning the Hopper and Rotor Without Causing Jams
Kibble dust and oils collect gradually. At each refill, inspect the bottom of the hopper, outlet, and rotor. A layer of fine crumbs, greasy residue, or compacted food means the feeder needs a deeper clean before more food is added.

A clean feeder can still jam if a part is installed backward, the rotor is not fully seated, or wet components make kibble stick. After every deep clean, dispense your cat’s actual kibble several times and confirm that food reaches the bowl.
Feeder Still Not Dispensing?
Check the schedule, outlet, rotor, motor, power supply, and kibble compatibility in order.
Should You Disinfect the Feeder?
Routine cleaning with soap or detergent physically removes food, dirt, and many germs. Disinfection is a separate step and is not automatically necessary for every routine wash. The CDC advises cleaning and disinfecting more often when a pet is sick or when a person or pet in the household is at higher risk of severe illness.
If disinfection is appropriate, use only a product and method compatible with the feeder material, follow the product label, keep pets away until the surface is safe and dry, and rinse food-contact surfaces when directed. The CDC specifically warns cat households not to use disinfectants containing phenol. Ask a veterinarian about cleaning after a contagious illness.
Signs You Should Clean the Feeder Immediately
- a sour, rancid, musty, or unusual odor;
- greasy film, saliva, stuck crumbs, or food dust;
- moisture or condensation inside the hopper;
- mold, insects, droppings, or webbing;
- kibble dispensing slowly or inconsistently;
- the cat hesitating to approach or eat;
- wet food left after a meal;
- vomiting, diarrhea, or suspected food contamination; or
- a pet-food recall affecting food used in the feeder.
Have Ants Reached the Feeding Area?
Remove contaminated food, clean scent trails, inspect nearby entry points, and use feeder-safe prevention methods.
Frequently Asked Questions
Can I put automatic feeder parts in the dishwasher?
Only when the manual identifies the exact part as dishwasher-safe. Heat can deform some plastics, damage seals, or cloud sensor windows.
Can I add new kibble on top of old kibble?
Continually topping up the hopper can leave older crumbs and oily food at the bottom. Inspect the outlet at every refill and periodically empty and clean the hopper according to the manual.
Is stainless steel easier to clean than plastic?
A removable stainless-steel bowl is often durable and easy to wash, but design matters. Scratches, seams, corners, and whether the part is truly removable can affect cleaning.
Do I need to reset the schedule after cleaning?
Not always, but disconnecting wall power or batteries may affect the clock or saved meals on some models. Confirm the time, schedule, portion, and control lock after reassembly.
Leaving the Feeder While You Are Away?
Clean, dry, refill, and test it before departure—but remember that cleaning does not replace in-person care.
Continue Checking Your Feeder
Weigh repeated dispenses after cleaning or changing food.
Check the clock, schedule, motor, and backup batteries.
Official Sources Reviewed
- CDC: About Cleaning and Disinfecting Pet Supplies
- U.S. FDA: Tips for Safe Handling of Pet Food and Treats
- U.S. FDA: Proper Storage of Pet Food and Treats
Leave a Reply