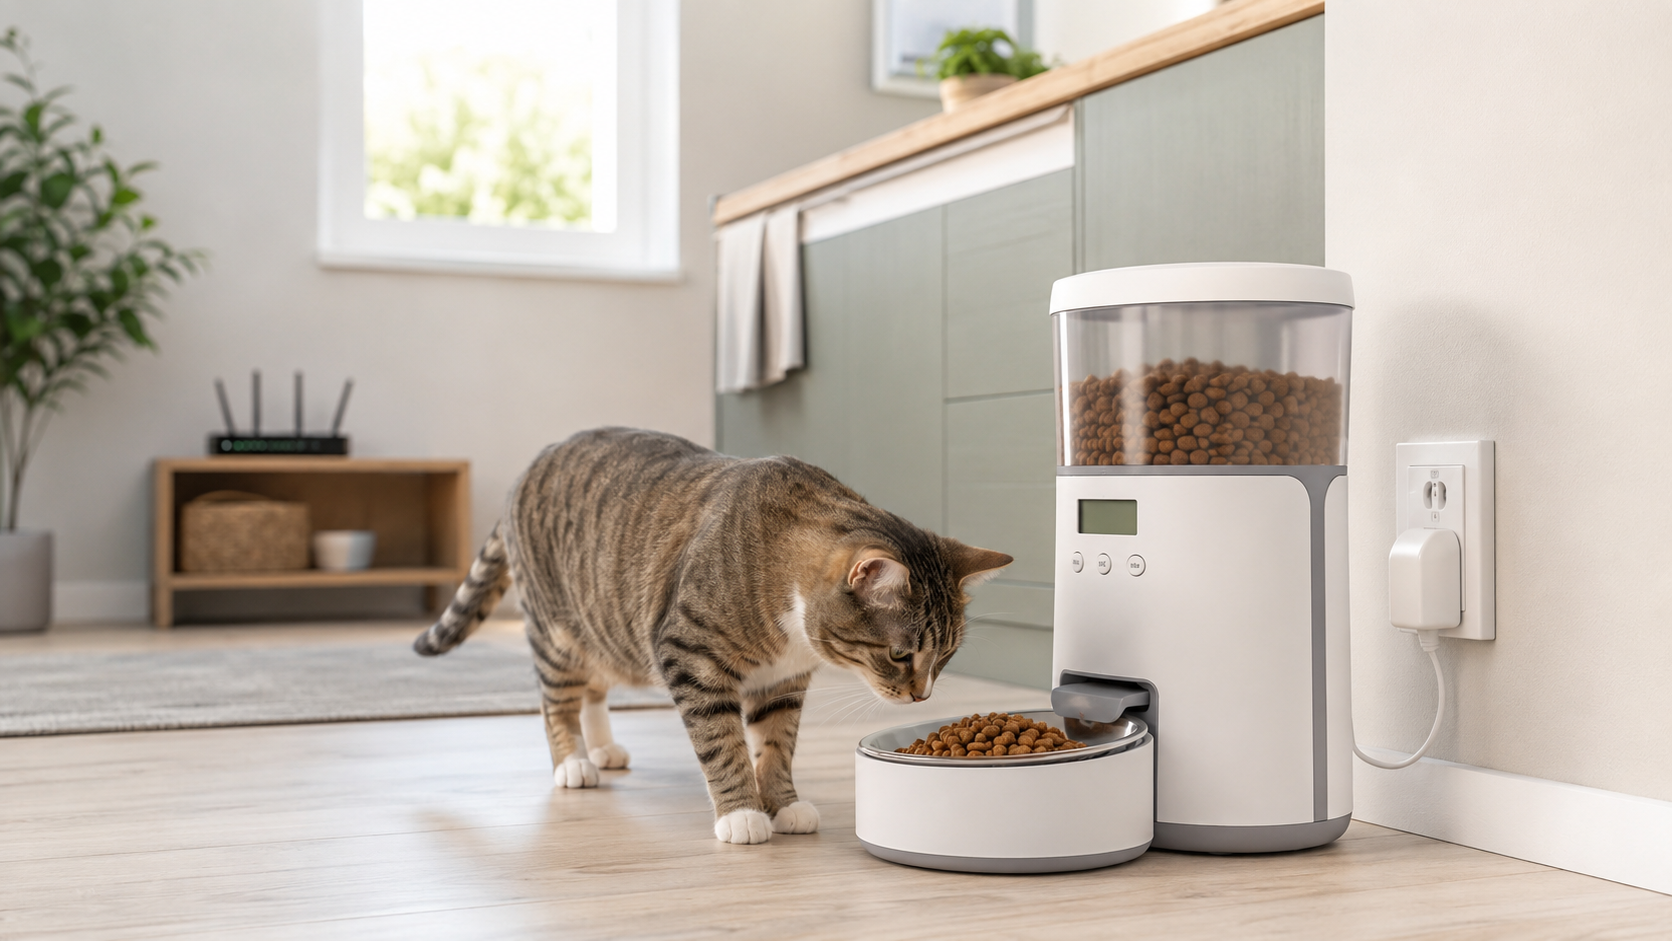
By Pet Tech Compass Editorial Team Last reviewed: August 3, 2026
Quick answer: First identify how your cat gets extra food: lifting the lid, pressing a button, reaching into the outlet, shaking the hopper, tipping the unit, or unplugging it. Enable every manufacturer-provided lock, reassemble the lid and rotor correctly, place the feeder on a stable non-slip surface, secure the cord safely, and test repeated dispenses. Do not tape over vents or sensors, block the outlet, drill the housing, or place a heavy object on the lid.
A determined cat can turn a small design weakness into a daily routine. The fix depends on the exact access point. Adding random barriers may stop the cat temporarily but can also jam the feeder, damage the motor, trap moisture, create a tipping hazard, or prevent a scheduled meal.
Observe the feeder between meals or use a camera to find the behavior before changing anything. Then choose the least invasive correction that the manufacturer supports.
Six Common Ways Cats Defeat Automatic Feeders
Behavior
Likely weak point
First check
Lifting the lid
Unlocked or incomplete latch
Seat and lock the lid exactly as shown
Pressing controls
Manual-feed button active
Enable control or child lock
Pawing the outlet
Open chute or loose food near rotor
Inspect outlet and approved guard
Shaking food loose
Dispensing mechanism moves backward
Use a model designed to resist shaking
Tipping the unit
Narrow, light, or slippery base
Stable placement and approved non-slip setup
Pulling the cord
Exposed loose cable
Safe cord routing and backup power test
Start With the Built-In Locks
Check the manual for a lid latch, twist-lock, pet-proof lock, control lock, or child-lock function. These features are model-specific. For example, some current feeders advertise enclosed dispensing systems and pet-proof lid locks, while some control panels can disable manual feeding until a button sequence unlocks them.
Confirm the lock physically rather than trusting an app icon. Pull gently on the closed lid, press the manual-feed button, and observe whether the feeder behaves as expected. Repeat the test after cleaning because a lid or hopper that looks seated may not be fully engaged.
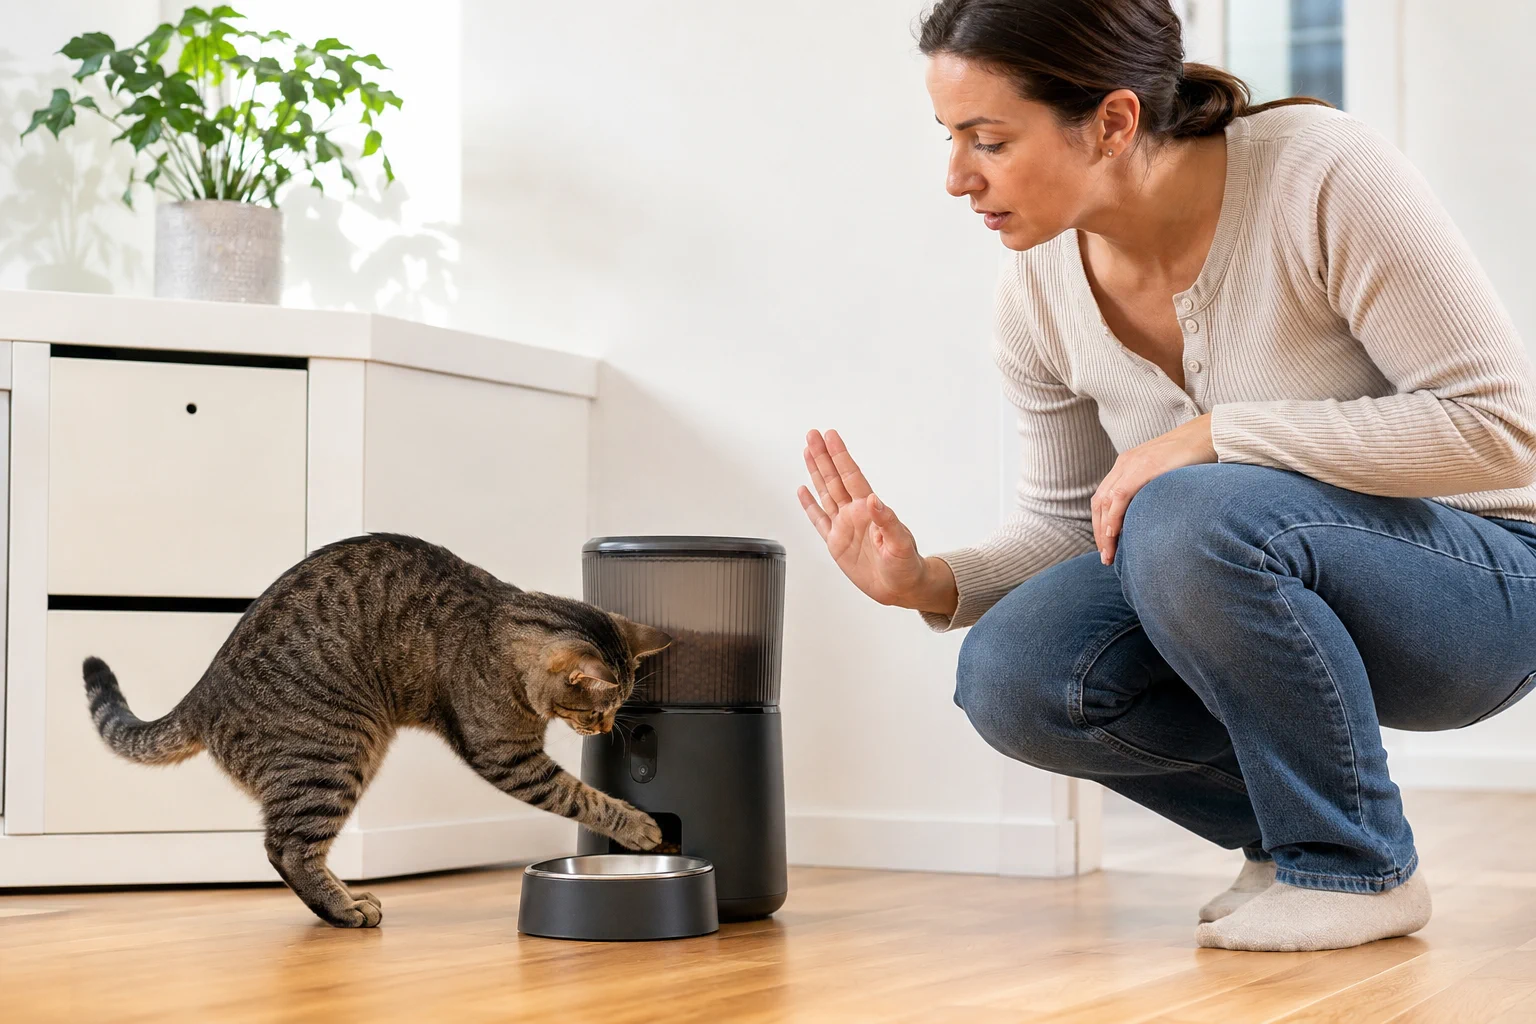
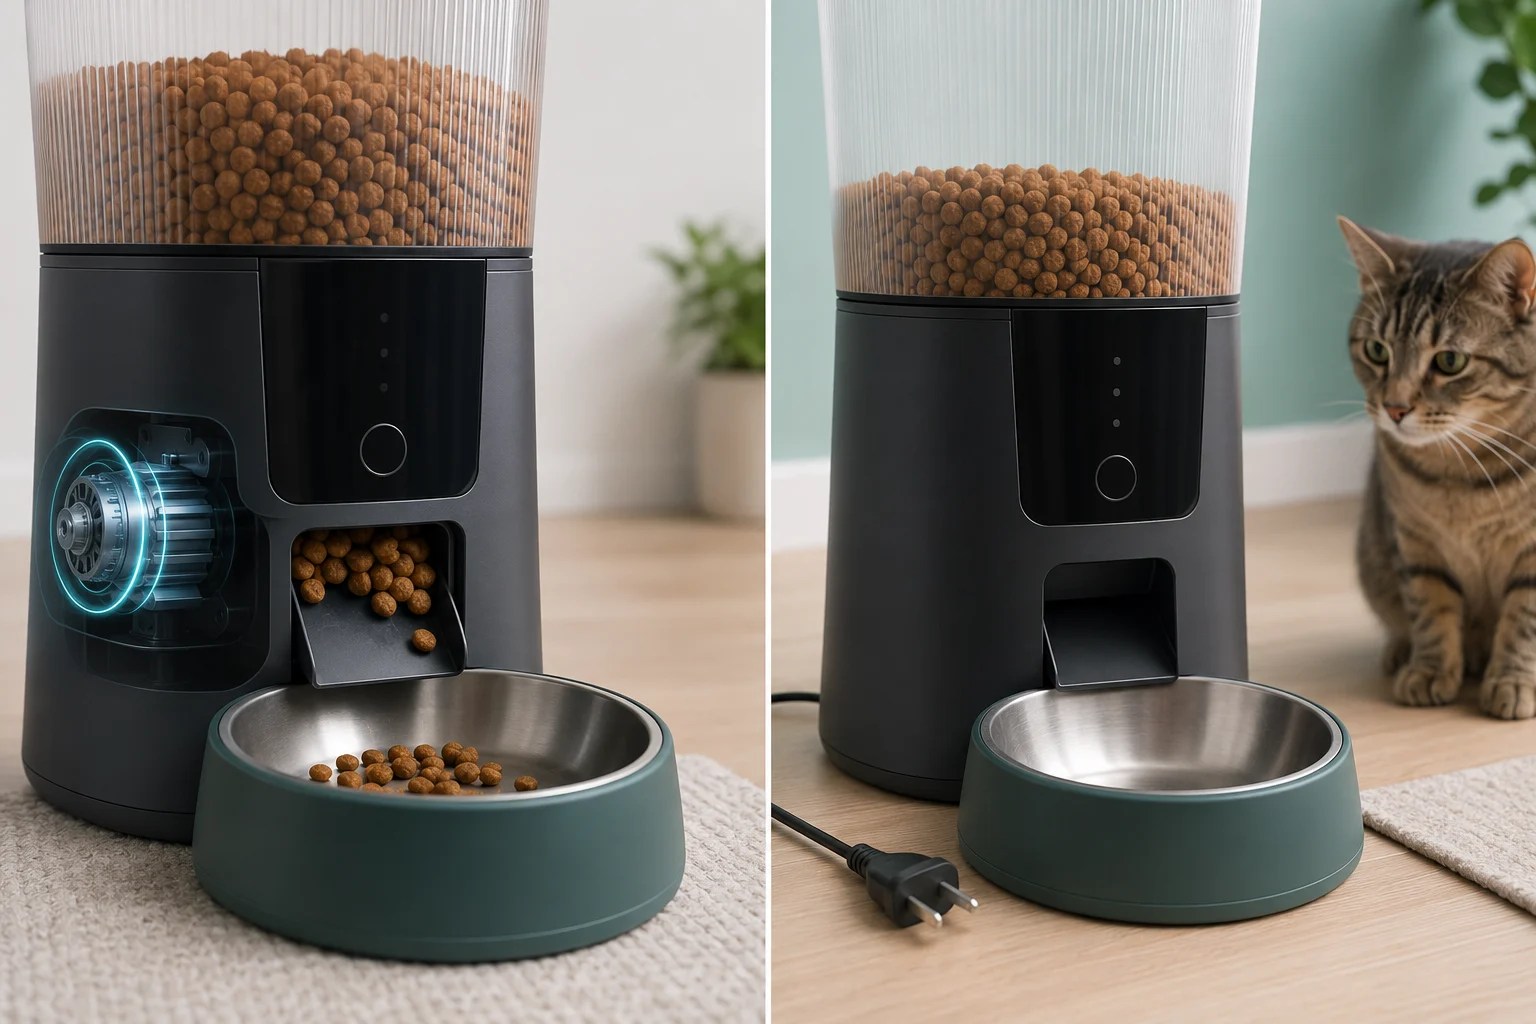
Test the physical lid and control locks after every refill or cleaning. AI-generated illustration.
If the hopper, lid, rotor, or outlet was recently removed, confirm that every part is dry and installed in the documented position. Use the automatic feeder cleaning guide to check which parts can be washed and how to test the feeder after reassembly.
Secure the Feeder Without Unsafe Modifications
Place it on a level, hard-to-slide surface with the bowl attached correctly.
Keep it away from steps, ledges, water, and objects the cat can use for leverage.
Use only a manufacturer-approved stand, wall restraint, guard, or mounting method.
Route the cord so the cat cannot pull or chew it, without pinching or overheating it.
Avoid improvised fixes: Do not add a brick or other heavy object to the lid, wrap the whole feeder in tape, wedge tools into the outlet, drill the housing, or enclose the adapter where it cannot release heat. These changes can create injury, electrical, hygiene, and missed-meal risks.
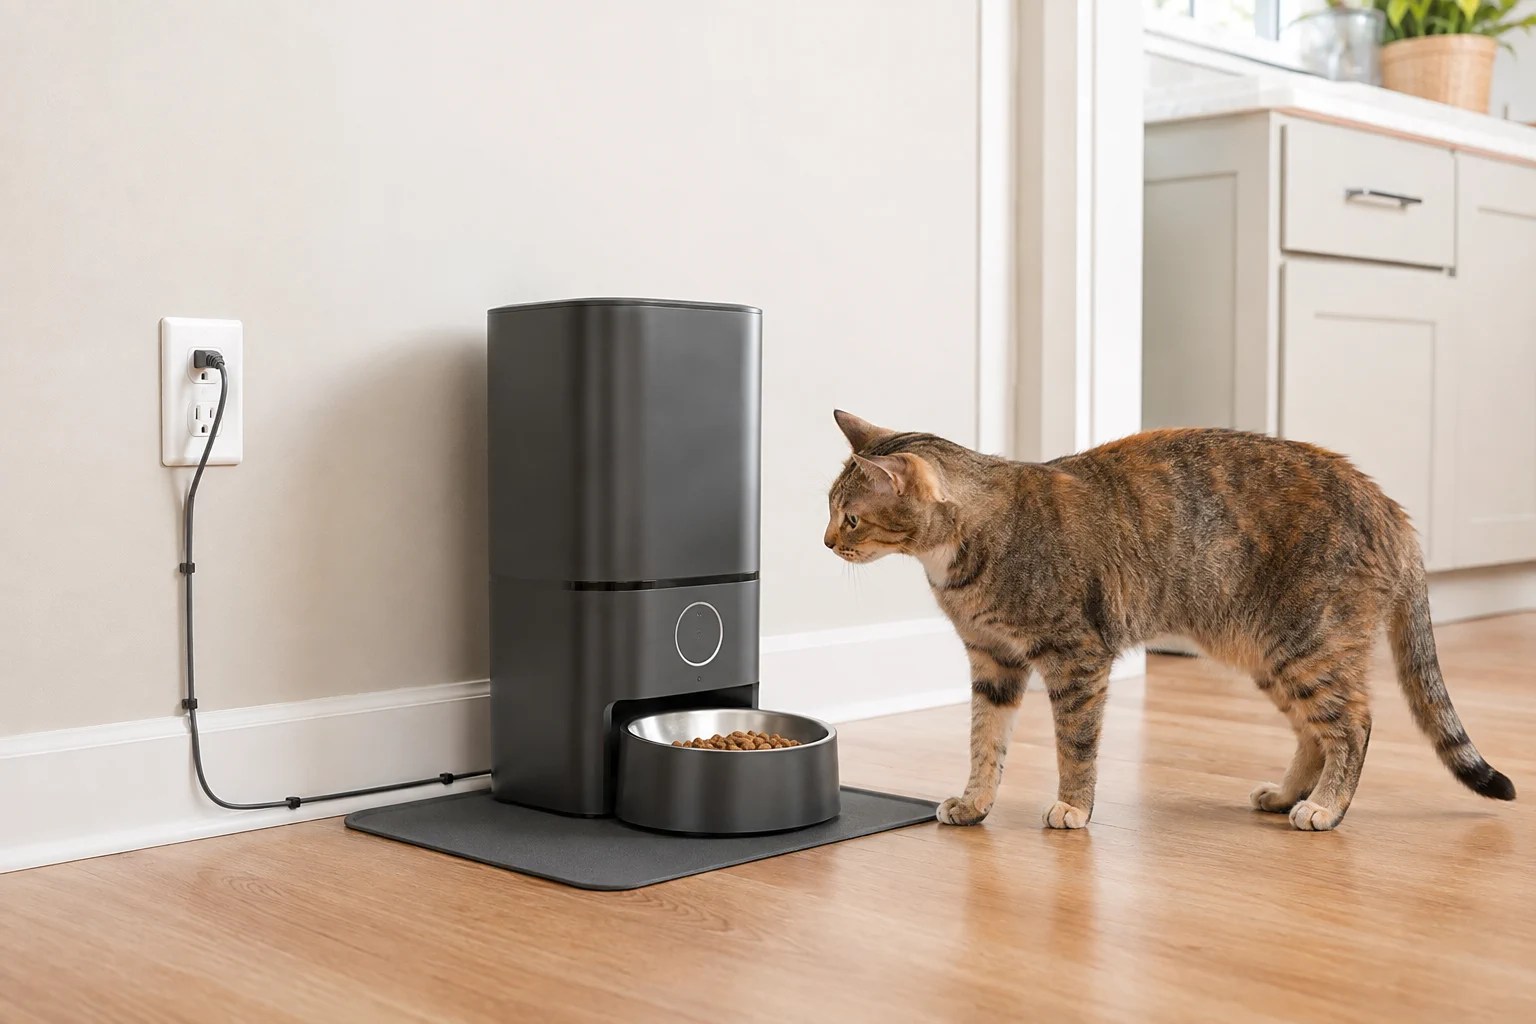
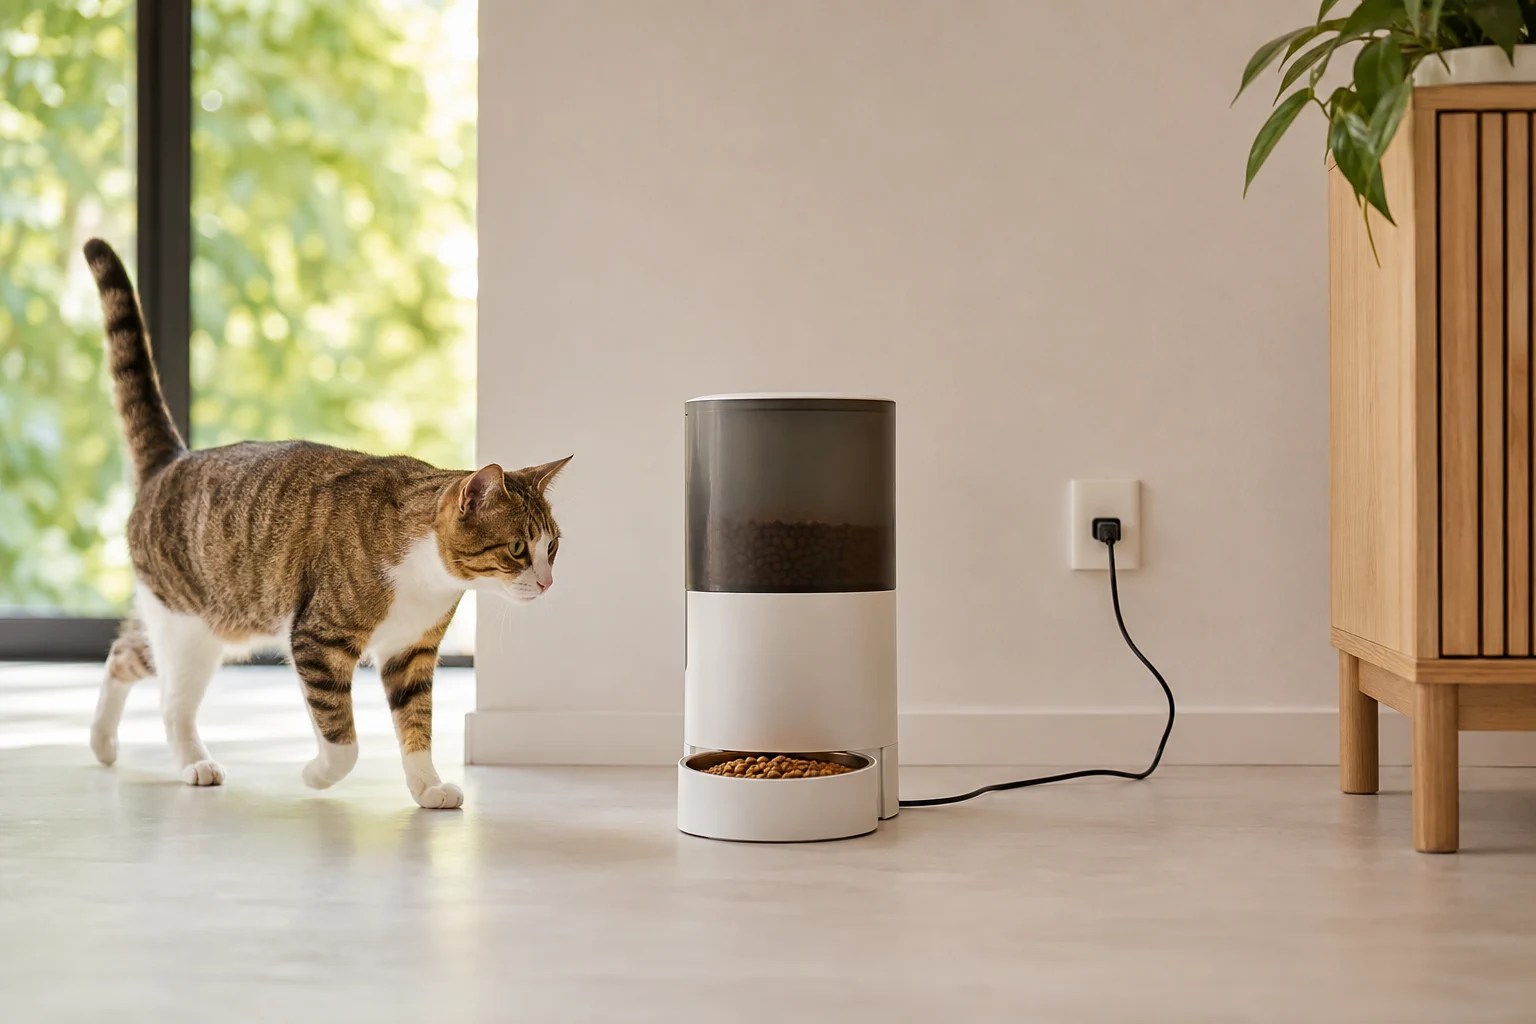
A stable open setup is safer than improvised weights or blocked housings. AI-generated illustration.
Could Pulling the Cord Stop Scheduled Meals?
Check whether backup batteries operate the dispensing motor and what happens when wall power is disconnected.
If the cat reaches into the outlet, unplug the feeder and inspect for loose kibble, a missing outlet cover, an incorrectly seated rotor, or a part installed backward. Use only the kibble sizes approved for the device. Oversized or irregular pieces can hold a flap open or leave food within reach.
After reassembly, run several manual dispenses and weigh the result. A security change is not successful if it causes inconsistent portions or prevents food from reaching the bowl.
Did the Fix Change Portion Size?
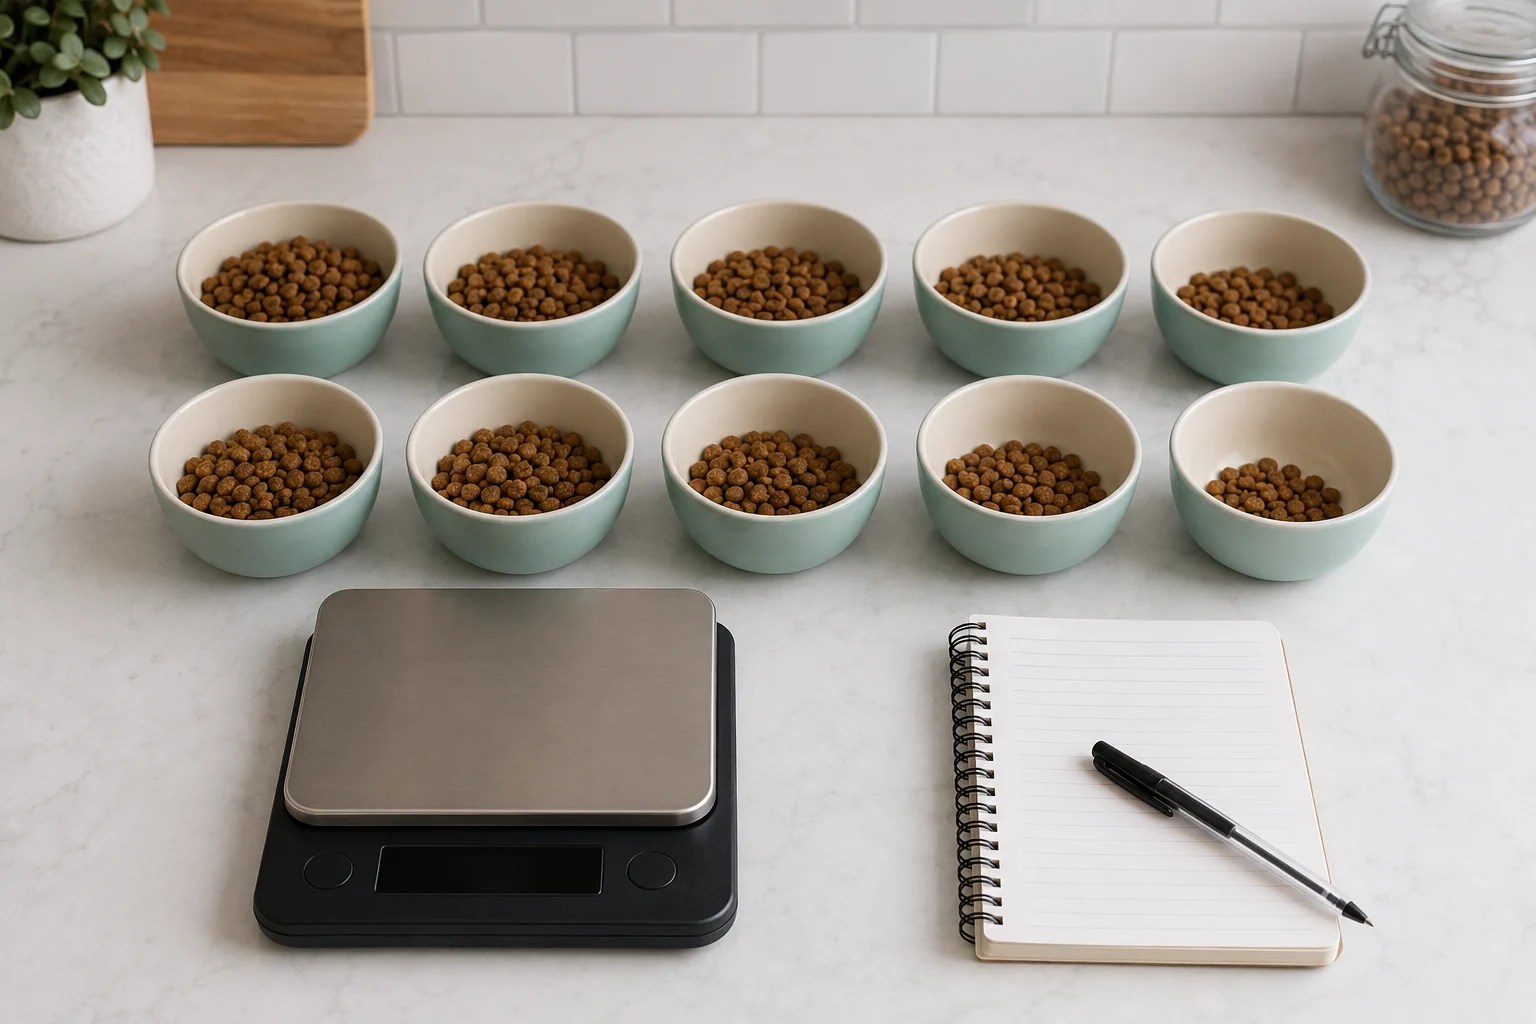
Measure at least 10 cycles with the real kibble before restoring the schedule.
Some cats investigate feeders because the behavior has been rewarded. Others may be hungry, bored, competing with another pet, or reacting to a feeding plan that does not fit their needs. The Feline Veterinary Medical Association notes that feeding programs can include frequent small meals, puzzle feeders, forage feeding, and multiple feeding locations depending on the household.
Do not increase or restrict food solely to stop feeder tampering. Confirm the daily calorie plan with a veterinarian, especially if the behavior is new or accompanied by weight change, increased thirst, vomiting, diarrhea, or persistent hunger.
Is Another Cat Creating Food Competition?
Learn when two cats may share one feeder and when separate or access-controlled feeding stations are safer.
Replace the feeder if the lid no longer locks, housing is cracked, cord is damaged, rotor can be reversed by a paw, buttons cannot be locked, or the unit repeatedly tips despite correct placement. Useful features include a positive lid latch, enclosed dispensing path, recessed or lockable controls, broad non-slip base, protected cord route, and readily available replacement parts.
Frequently Asked Questions
Can I tape the lid shut?
Tape can leave adhesive, trap dirt, block vents, or make routine cleaning difficult. Use the designed latch or replace a feeder that cannot be secured.
Can I put the feeder inside a box?
An enclosure may block airflow, sensors, the bowl, or the cat’s safe access. Use only a setup approved for the model.
What if the feeder stops after I secure it?
Remove the modification, restore the manufacturer configuration, and check the outlet, rotor, power, and schedule.
Food No Longer Reaching the Bowl?
Work through the schedule, outlet, rotor, motor, and power checks in order.
Observe several complete scheduled meals after making any security change. Confirm that the cat can reach the bowl normally, the feeder remains stable, the cord stays protected, and the planned amount reaches the bowl.
Will the Setup Be Safe While You Are Away?
Check food access, power, water, monitoring, backup plans, and in-person care before depending on the feeder.
Research note: This guide uses feline feeding guidance and public manufacturer documentation reviewed on August 3, 2026. Locking methods and safe mounting options vary by model. Verify all changes in the exact manual.
Affiliate disclosure: Pet Tech Compass may earn a commission from qualifying purchases made through links on this site, at no additional cost to you. This does not affect our editorial conclusions.
By Pet Tech Compass Editorial Team Last reviewed: August 3, 2026
Quick answer: Empty the feeder, discard ant-contaminated food, unplug the unit, and clean every approved food-contact part plus the floor and ant trail. Store the main food supply securely, move the feeder away from walls and entry points, and seal cracks where ants enter. Do not spray pesticides on or beside the feeder, food, or water. If bait or another pesticide is needed, use only a labeled product in a location completely inaccessible to pets and follow every label direction.
Ants usually return because they can still reach food, crumbs, grease, or an established scent trail. Killing the visible ants without removing the food source and access route often provides only temporary relief.
An automatic feeder adds hidden areas where crumbs can collect: under the bowl, inside the outlet, beneath the base, and around the rotor. A successful plan combines immediate cleanup with food storage, feeder placement, entry-point control, and careful pesticide safety.
What to Do Immediately
Move your cat away from the area. Prevent access to ants, contaminated food, cleaners, and pest-control products.
Turn off and unplug the feeder. Remove batteries if the manual requires it before cleaning.
Discard exposed food. Do not return food containing ants, debris, moisture, or unknown contamination to the original bag.
Disassemble approved parts. Remove the bowl, hopper, lid, and rotor only as directed by the manufacturer.
Clean and dry completely. Wash food-contact parts using the approved method. Wipe the motorized base without immersing it.
Vacuum or wipe the trail. Remove ants and crumbs from the floor, baseboard, wall, cord route, and beneath nearby furniture.
Inspect the original food bag. If ants entered the main supply, discard it securely and clean the storage area.
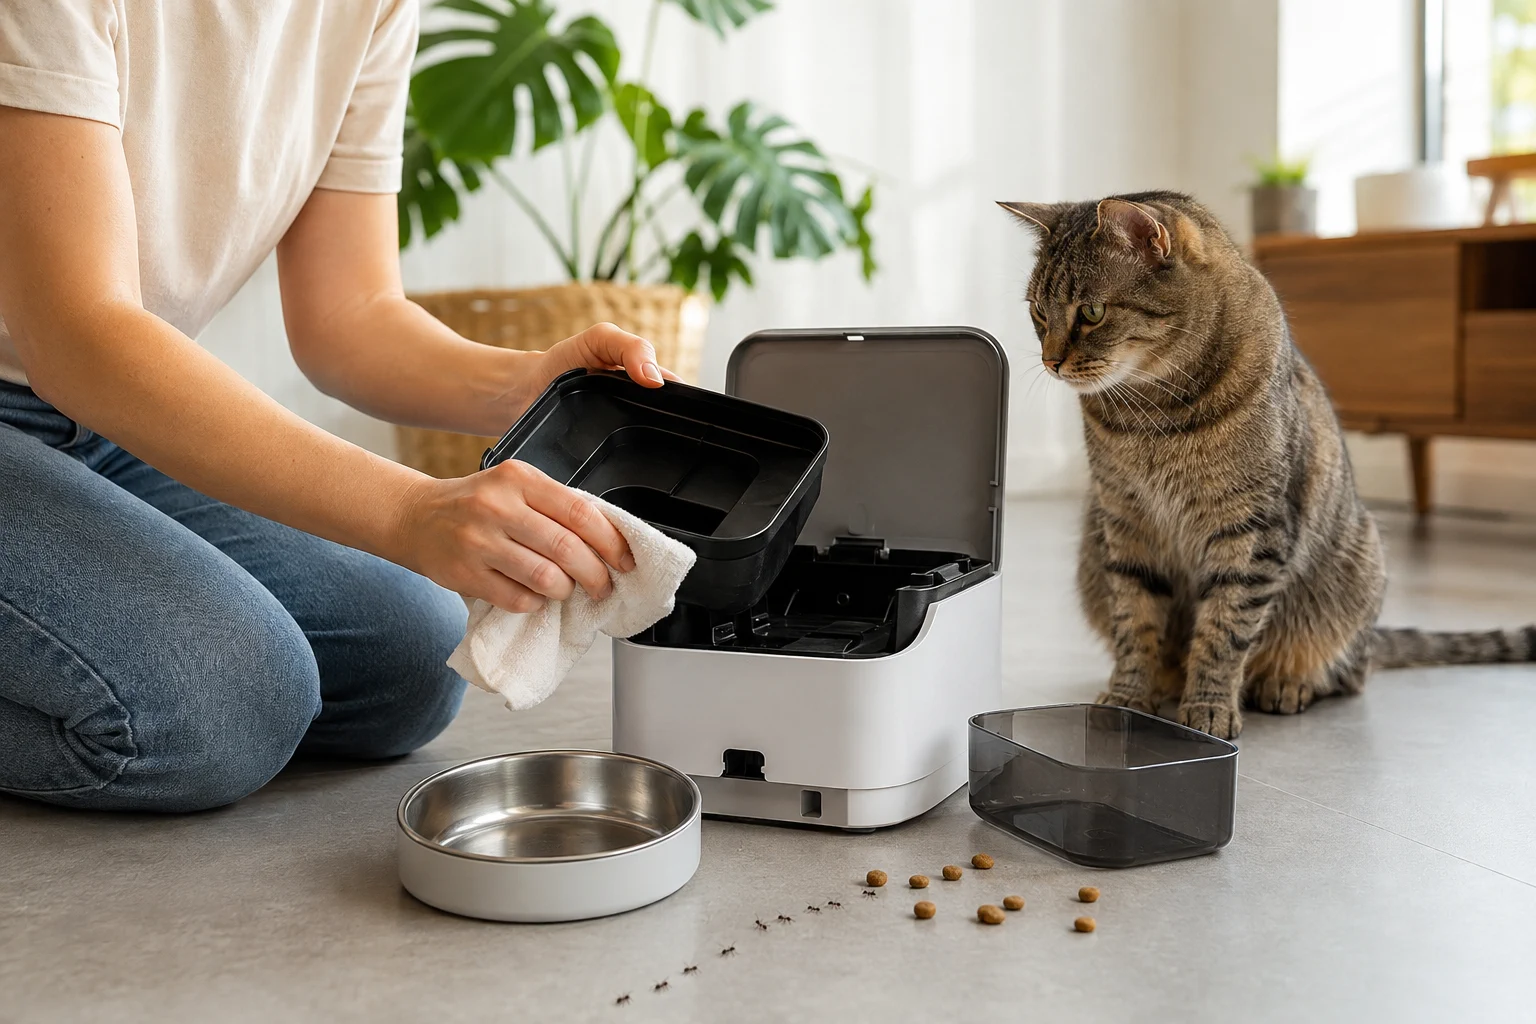
Remove the food source and trail before returning the clean feeder. AI-generated illustration.
Do not keep feeding contaminated kibble. If your cat eats questionable food or contacts a pesticide and then becomes unwell, contact a veterinarian or animal poison-control service promptly and keep the product label available.
Find the Route, Not Just the Ants
Follow the trail away from the feeder. Inspect baseboards, door thresholds, window frames, pipe openings, wall cracks, electrical penetrations, and gaps beneath cabinets. Ants may travel along a power cord or touch a wall and bridge directly onto the feeder.
After cleaning, move the feeding station a short distance from walls and furniture so there is no easy bridge. Keep cords tidy without creating a new climbing route, and use pet-safe physical repairs such as sealing cracks and gaps where appropriate.
Remove Every Food Source
wash the food bowl regularly and remove uneaten crumbs;
wipe the dispensing outlet and surrounding mat;
clean beneath and behind the feeder;
keep the garbage container closed;
store treats and backup food securely;
do not continually pour new kibble over old residue; and
repair water spills that can support pest activity.
The FDA’s pet-food storage guidance recommends keeping dry food in its original bag and storing it in a cool, dry, secure location. If another container is used, placing the original bag inside it preserves product information and adds a second barrier.
Need a Part-by-Part Cleaning Schedule?
Clean the bowl, outlet, hopper, rotor, sensors, and base without damaging the electronics.
Choose a cool, dry, easy-to-clean area away from exterior doors, open windows, wall cracks, houseplants with active insects, and direct sunlight. A hard floor is easier to inspect than deep carpet. Leave visible space around the feeder so new trails can be noticed early.
A raised stand or ant-resistant feeding station may help only if it is stable, compatible with the feeder, and cannot be tipped. Avoid improvised water moats around electrical feeders: spilled water can damage the device, create a slipping hazard, or allow a power cord to bridge the barrier.
A visible, clean feeding zone makes new ant activity easier to detect. AI-generated illustration.
Be Careful With Sprays, Powders, and Baits
The EPA’s pet pesticide guidance says not to spray or store pesticide products near pet food or water dishes and to prevent animals from reaching bait products. “Natural” does not automatically mean safe to inhale, lick, or place near food.
Start with sanitation and exclusion. If ants continue, identify the species or contact a licensed pest professional. When using any pesticide, select a product labeled for the intended indoor use, follow the label exactly, and place it where your cat cannot touch, lick, chew, or knock it loose. Never transfer a pesticide to an unlabeled container.
A Seven-Step Prevention Checklist
Inspect the bowl, outlet, and floor every day.
Load only a short-term supply of kibble.
Keep the original food bag sealed inside secure storage.
Empty and clean the hopper instead of endlessly topping it up.
Keep the feeder away from walls and obvious entry points.
Seal accessible cracks and remove clutter near the feeding area.
Check again after warm weather, rain, construction, or moving the feeder.
How Much Food Should Stay in the Hopper?
Smaller, regularly inspected loads reduce old crumbs and make pest activity easier to catch.
Research note: This article is based on U.S. government pest-control and pet-food storage guidance reviewed on August 3, 2026. Ant species, products, labels, feeder materials, and household risks vary. Consult a licensed pest professional or veterinarian when needed.
Affiliate disclosure: Pet Tech Compass may earn a commission from qualifying purchases made through links on this site, at no additional cost to you. This does not affect our editorial conclusions.
By Pet Tech Compass Editorial Team Last reviewed: August 3, 2026
Quick answer: There is no universal number of days that dry cat food stays fresh in every automatic feeder. Use the food manufacturer’s after-opening guidance and the feeder manual as your limits. As a practical routine, load only the amount your cat will consume in the next several days, inspect it at every refill, and replace it immediately if it smells unusual, feels damp or greasy, clumps, contains insects, or your cat suddenly refuses it.
A feeder hopper protects kibble from casual access, but it is not the same as the original food package. Every time the lid opens, warm or humid air can enter. Food at the bottom may remain there through repeated top-ups, while fats and crumbs collect on the hopper and rotor.
The right refill interval depends on the food, climate, feeder seal, hopper size, household temperature, and how quickly your cat eats. The safest approach is to keep the main supply properly stored and use the feeder as a short-term dispensing container.
Why There Is No Single Safe Time Limit
Food formulas differ. Fat content, coating, kibble shape, and packaging affect how a product handles air and moisture.
Hoppers differ. A gasketed lid may reduce air exchange, but it does not make the chamber airtight forever.
Homes differ. Heat, humidity, sunlight, steam, and insects change storage conditions.
Usage differs. A small hopper emptied in days is different from a large hopper repeatedly topped up for weeks.
A “best by” date normally applies to the unopened product stored as directed. Once the bag is opened and food is transferred to a feeder, follow any after-opening instructions printed by the manufacturer rather than treating the date as a guarantee.
A Better Rule: Load Several Days, Not Several Weeks
For routine use, estimate the amount your cat eats per day and add only enough for the next several days. This reduces the time kibble spends exposed inside the feeder and forces regular inspections. A large-capacity hopper is useful for convenience, but capacity should not be confused with a recommended storage period.
Simple loading calculation
Daily food amount × number of days until the next planned inspection = starting hopper load. Use the weight recommended for your cat, not the feeder’s vague “portion” label.
For example, if the feeding plan uses 60 grams per day and you intend to inspect the hopper in four days, start with about 240 grams plus only a small operational margin. Reweigh actual dispenses because output changes with kibble density and shape.
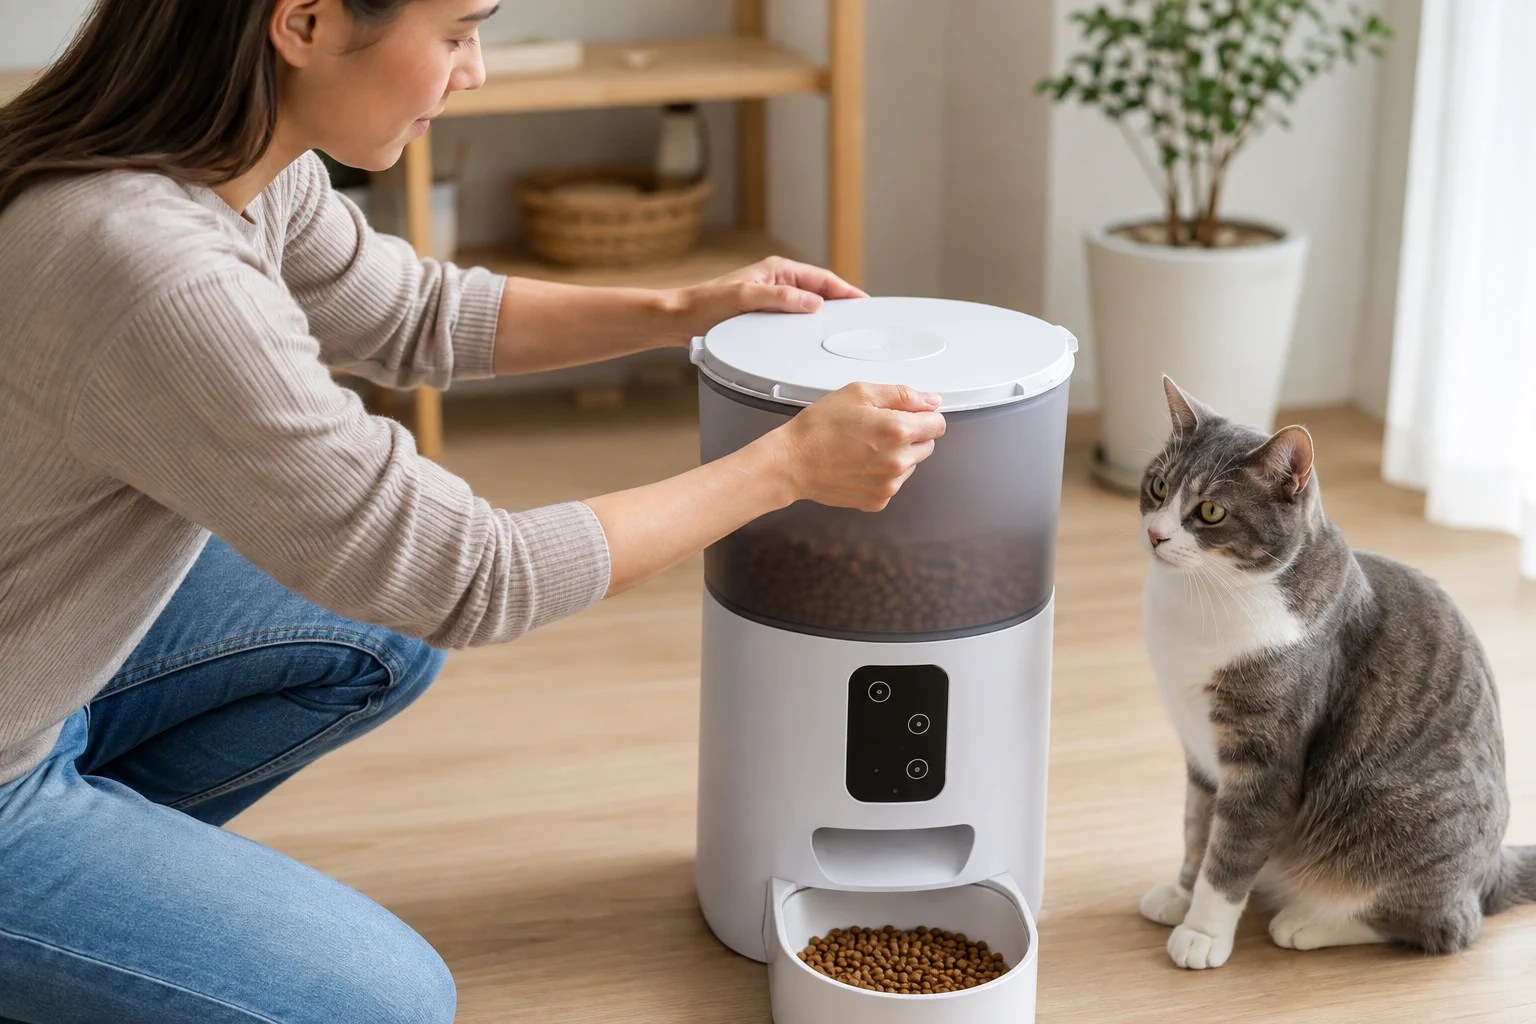
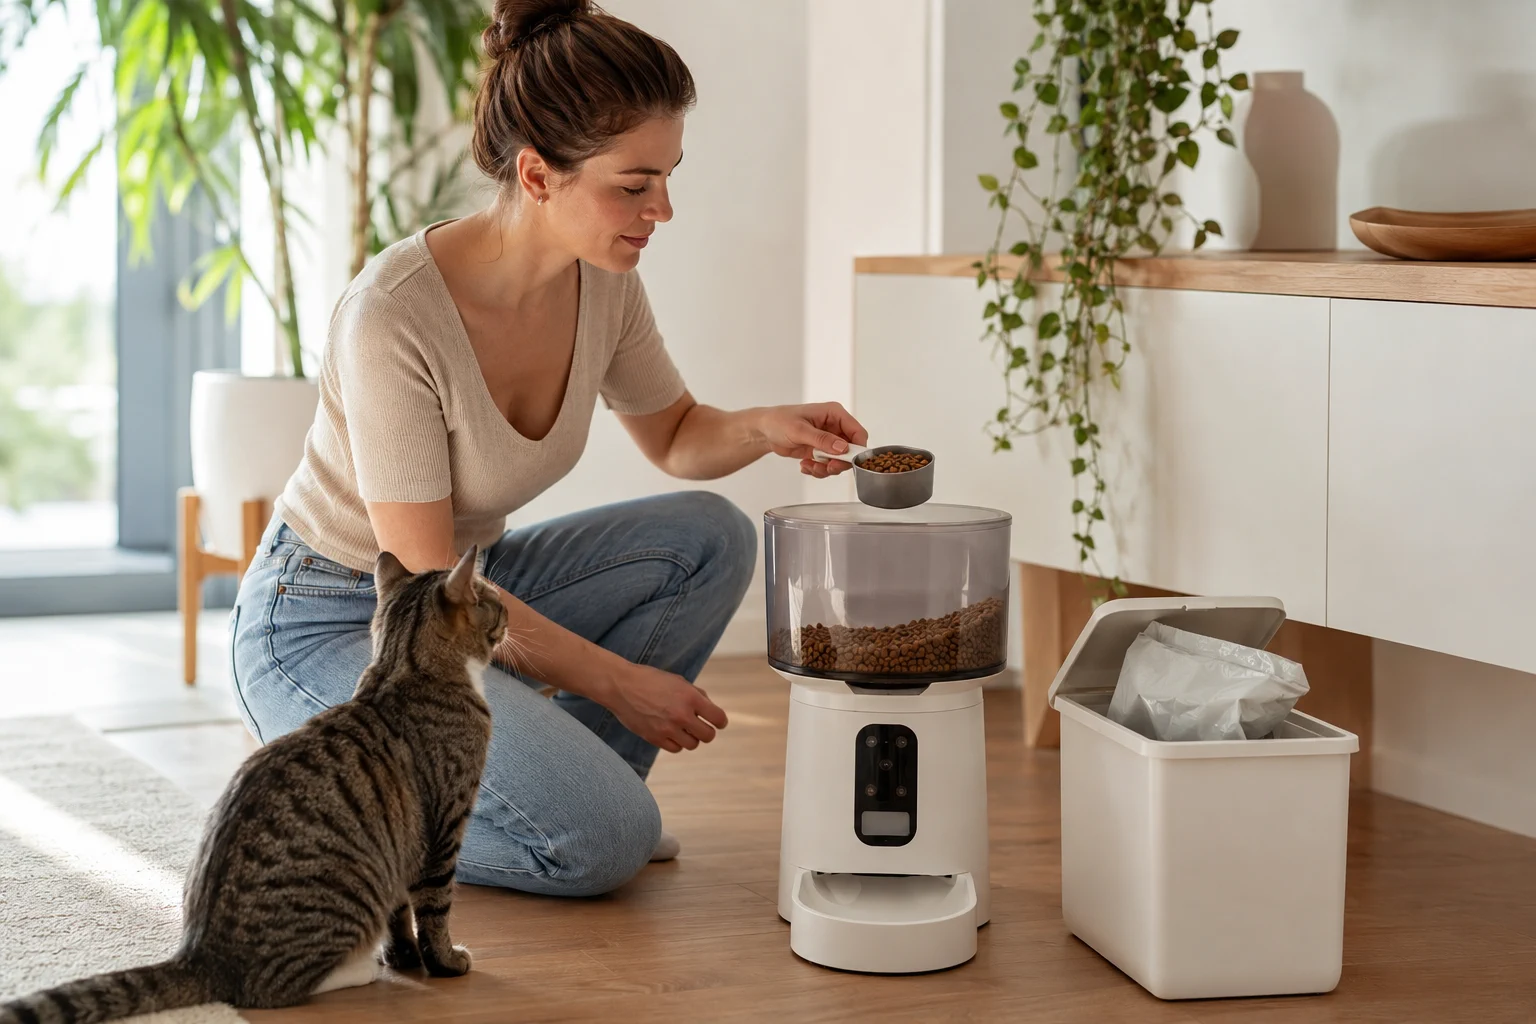
Loading a measured short-term supply makes inspection and rotation easier. AI-generated illustration.
Does One “Portion” Equal the Expected Weight?
Test at least 10 dispenses with your cat’s actual kibble before calculating how much food the hopper needs.
The FDA’s pet-food storage guidance recommends keeping food in its original bag so the product name, manufacturer, UPC, lot number, and best-by date remain available. If you use a separate container, the FDA recommends placing the entire original bag inside it when possible.
The original package also provides a food-specific barrier. Keep the top securely closed and store it in a cool, dry location. FDA guidance says dry pet food should be kept below 80°F (about 27°C), because excess heat or moisture can contribute to nutrient breakdown.
Do not pour a new bag over old food in a storage bin or feeder. Finish or remove the old batch, wash food-contact parts according to their instructions, dry them completely, and retain the new lot information.
What Makes Kibble Deteriorate Faster?
Heat and direct sunlight
Do not place the feeder beside a sunny window, radiator, oven, or other heat source. A warm hopper can speed quality loss and may create temperature swings that encourage condensation.
Humidity and water
Steam from a kitchen, splashes from a fountain, damp cleaning parts, or a humid room can make kibble clump. Keep the feeder dry and allow washed components to air-dry completely before refilling.
Air and repeated lid opening
Opening the lid frequently exchanges the air inside. Close it fully after each refill and inspect the gasket for food dust or damage.
Old crumbs and residual fats
Fine crumbs settle at the bottom and fats can coat surfaces. Repeated top-ups mix fresh kibble with older residue, which is why emptying and cleaning between batches matters.
Insects and household pests
A closed lid can reduce access but cannot correct an existing infestation. Discard affected food safely, clean the feeder and surrounding area, and inspect the main package.
Are Ants Reaching the Feeder?
Remove contaminated food, clean scent trails, inspect entry points, and use feeder-safe prevention methods.
Do not feed kibble that is damp, moldy, pest-contaminated, or unusually odorous. AI-generated illustration.
rancid, sour, musty, or otherwise unusual odor;
dampness, soft texture, swelling, or clumps;
mold, discoloration, webbing, insects, or droppings;
greasy residue that is unusual for that food;
a damaged package or missing storage history;
a recall involving the product’s lot number; or
sudden refusal by a cat that normally eats the food.
Health note: If your cat becomes ill or repeatedly refuses food, stop using the questionable batch and contact a veterinarian. Do not rely on smell or appearance alone to prove food is safe.
A Safe Refill Routine
Check the original bag’s best-by date and after-opening directions.
Confirm the feeder is clean, completely dry, and correctly assembled.
Smell and inspect the food already in the hopper; do not automatically top it up.
Add only the amount needed until the next planned inspection.
Close the lid and confirm the gasket and latch are clear.
Run a manual dispense and verify that food reaches the bowl.
Keep a dated photo of the bag’s product name, lot number, and best-by date.
Wash the bowl regularly and inspect the outlet for crumbs or moisture.
When Was the Hopper Last Cleaned?
Use a part-by-part schedule for the bowl, outlet, hopper, rotor, sensors, and base.
A hopper may physically hold that much food, but capacity is not a freshness recommendation. Use the food label and feeder manual, consider local heat and humidity, and prefer smaller loads that you inspect regularly.
Does a desiccant pack make food last longer?
Use only the type, placement, and replacement schedule approved for the exact feeder. Never place an unapproved packet where a cat could reach it or where it could enter the dispensing mechanism.
Can I mix two bags of the same food?
Avoid mixing batches in the hopper because it makes rotation and recall identification harder. Keep each bag’s lot information and clean the container between bags.
Should I leave extra food before a trip?
Load a tested amount, but do not treat excess kibble as protection against a jam, power failure, illness, or spilled water. Arrange in-person care for overnight or multi-day absences.
Planning to Leave the Feeder Unattended?
Fresh food is only one part of a safe setup. Test power, dispensing, water access, and human backup.
Research note: This article is based on official pet-food storage and handling guidance reviewed on August 3, 2026. Pet Tech Compass did not independently test every food or feeder. Freshness limits, packaging, hopper seals, and approved accessories vary; follow the directions for the exact food and feeder.
Affiliate disclosure: Pet Tech Compass may earn a commission from qualifying purchases made through links on this site, at no additional cost to you. This does not affect our editorial conclusions.
By Pet Tech Compass Editorial Team Last reviewed: August 3, 2026
Quick answer: Automatic cat feeders can safely support routine meals during short absences when the feeder has been tested, the food is appropriate for the device, and a healthy adult cat has reliable access to water, litter boxes, and a safe environment. They are not failproof and do not replace in-person care. Jams, empty hoppers, power loss, incorrect schedules, food stealing, spoiled wet food, illness, or a cat being unable to reach the bowl can all occur without a useful remote warning.
What matters most
Test the complete feeding schedule before relying on it.
Use backup power only after confirming that it operates the dispensing motor.
Arrange human check-ins for overnight or multi-day absences.
An automatic feeder solves one specific problem: releasing a measured amount of food at a scheduled time. It does not confirm that your cat is healthy, drinking, urinating, using the litter box, or actually eating the meal.
The safest plan treats the feeder as one layer of support. A second layer—such as tested batteries, a separate water source, or a camera—can reduce uncertainty. In-person care remains the only way to physically correct a jam, clean a spill, refill water, assess illness, or take a cat to a veterinarian.
When Is Leaving an Automatic Feeder More Reasonable?
Using a feeder during a normal workday or another short absence may be reasonable when:
your cat is a healthy adult with stable eating habits;
the feeder has completed multiple full schedules without a missed meal;
the kibble is within the manufacturer’s approved size and food type;
the programmed amount has been weighed and verified;
the feeder cannot be tipped, opened, unplugged, or blocked easily;
fresh water is available from more than one reliable source;
litter boxes are clean and accessible; and
someone can respond if a problem is discovered.
Previous success matters, but it is not a permanent guarantee. Recheck the setup after changing food, cleaning the dispensing parts, installing firmware, moving the feeder, or replacing its power supply.
When Should You Not Rely on the Feeder Alone?
Closer supervision or a veterinarian-approved care plan is more appropriate when a cat:
is a young kitten, frail senior, or newly adopted;
has diabetes or needs medication coordinated with food;
has kidney, urinary, gastrointestinal, or other ongoing disease;
has recently vomited, stopped eating, or changed weight unexpectedly;
requires a prescription or refrigerated diet;
has a history of breaking into, tipping, or jamming the feeder;
shares the home with another pet that steals food; or
becomes highly stressed when left alone.
Health note: A camera image or an empty bowl does not prove that a cat ate the intended meal or kept it down. If regular food intake is medically important, ask your veterinarian how meals should be delivered and verified during your absence.
Can Your Cat Open or Tip the Feeder?
Check the lid, hopper, buttons, power cord, bowl attachment, and feeder placement before leaving it unattended.
Oversized, irregular, oily, or crumb-heavy kibble can bridge over an outlet or interfere with a rotor. A motor sound does not guarantee that food reached the bowl.
Power and battery problems
A wall adapter can be unplugged or power can fail. Some backup batteries operate the motor, while others may preserve only limited functions. Test the exact model instead of assuming that the battery symbol guarantees feeding.
Schedule or clock errors
An incorrect time zone, disabled meal, unsaved app change, control lock, or reset clock can produce a missed or mistimed meal. Review the device display as well as the app.
Empty or inaccessible food
A hopper can look full while food is no longer falling toward the dispensing mechanism. The bowl can also be moved, blocked, contaminated, or reached by another pet first.
Connected features can stop
Wi-Fi loss may disable notifications, cameras, remote feeding, and logs even when a locally stored schedule continues. A “connected” feeder should not be treated as continuous proof that feeding succeeded.
Is Food Failing to Reach the Bowl?
Use a manual-feed test to check the schedule, food outlet, rotor, motor, and power supply before relying on the feeder again.
Jams, crumbs, moisture, stale food, or an empty outlet area
Use compatible kibble, keep parts dry, and test repeated dispenses
Timed wet-food tray
Food warming or remaining exposed too long
Follow the food label and feeder instructions; verify cooling performance
Refrigerated feeder
Cooling loss during a power failure or lid malfunction
Confirm safe operating limits and do not rely on cooling after power loss
The U.S. Food and Drug Administration’s pet-food handling guidance advises promptly refrigerating or discarding unused or leftover canned and pouched pet food and following storage instructions on the package. A timed tray does not override the food manufacturer’s handling requirements.
How Long Can Dry Food Stay in the Feeder?
Learn how heat, humidity, food oils, air exposure, hopper design, and refill habits affect freshness.
A camera can show whether food appears in the bowl, whether your cat approaches, and whether the feeder has been tipped. It may also help you notice vomiting, unusual inactivity, or another pet stealing food.
However, a camera cannot clear a jam, restore power, replace spilled water, clean a litter box, assess dehydration, or provide veterinary treatment. Position the camera so that the feeder and surrounding floor are visible, but use it as monitoring rather than as the only safety measure.
How Often Should Someone Check the Cat?
There is no single unattended-time limit that is safe for every cat. Age, health, medication, diet, temperament, home temperature, water reliability, and the length of the absence all change the risk.
For overnight or multi-day travel, arrange regular in-person visits rather than extending the feeder’s schedule and assuming the home will remain unchanged. The caregiver should see the cat, confirm food and water intake, inspect litter-box output, and have authority to respond to a problem.
In-person checks provide the response that apps and cameras cannot. AI-generated illustration.
Frequently Asked Questions
Can I leave my cat alone overnight with an automatic feeder?
A tested feeder can support scheduled meals, but the decision depends on the cat’s health, age, diet, water access, environment, and ability to cope alone. For overnight and longer absences, arranging an in-person check is the safer plan.
Will the feeder alert me if it jams?
Some connected feeders report suspected blockages or meal events, but alert behavior varies and may depend on power, Wi-Fi, sensors, and app services. Verify alerts with deliberate tests and do not treat them as guaranteed confirmation.
Is battery backup enough?
Only if the batteries are fresh, compatible, correctly installed, and proven to operate the motor and saved schedule. Battery mode may disable Wi-Fi, cameras, or controls.
Should I leave extra food in the hopper?
Provide enough food for the planned schedule plus a reasonable margin, but do not overfill beyond the manufacturer’s instructions. Extra food does not solve a blocked outlet, failed motor, or another pet gaining access.
Can two cats share one feeder while I am away?
Sharing makes individual intake harder to verify and may allow one cat to eat both portions. Separate stations or access-controlled feeders are safer when diets, portions, eating speeds, or health needs differ.
Feeding More Than One Cat?
Learn when sharing may work and when separate or RFID-controlled feeding stations are the safer choice.
Research note: This article is based on veterinary educational resources, food-safety guidance, and publicly available product information reviewed on August 3, 2026. Pet Tech Compass did not independently test every feeder. Safety instructions, supported food types, backup-power behavior, alerts, and product specifications vary by model. Verify important details in the exact product manual and with your veterinarian when health needs are involved.
Affiliate disclosure: Pet Tech Compass may earn a commission from qualifying purchases made through links on this site, at no additional cost to you. This does not affect our editorial conclusions. This article focuses on safe use rather than product rankings.
By Pet Tech Compass Editorial Team Last reviewed: August 3, 2026
Quick answer: Clean a dry-food feeder bowl at least daily and a wet-food tray after every use. Wipe crumbs and spills from the outlet and feeding area daily. Deep-clean removable hopper, rotor, and tray parts on the schedule in your feeder manual—and sooner whenever you see grease, dust, odor, moisture, insects, mold, or reduced dispensing. Never immerse the motorized base unless the manufacturer explicitly says it is washable.
An automatic feeder handles food every day, but its hidden surfaces are easy to overlook. Saliva remains on the bowl, kibble leaves oil and crumbs, and fine food dust can collect around the outlet and rotor. In a wet-food feeder, residue can spoil much faster.
Cleaning is not only about appearance. Buildup can create odors, attract pests, make food less appealing, and interfere with sensors or dispensing parts. The safest routine separates the parts that touch food from the base that contains the motor and electronics.
A Practical Automatic Feeder Cleaning Schedule
Part
Starting schedule
Clean sooner when
Dry-food bowl
Daily
Food is oily, the cat drools, or residue is visible
Wet-food tray
After every use
Immediately after leftovers are discarded
Outlet and feeding mat
Check and wipe daily
Crumbs, saliva, spills, ants, or food dust appear
Hopper, lid, and rotor
Follow the product manual; inspect at every refill
Changing food, odor, grease, moisture, dust, or dispensing changes
Motorized base and sensors
Wipe as needed with the feeder unplugged
Dust or residue blocks a sensor or reaches a seam
This is a starting schedule, not a replacement for the manual. Materials, seals, dishwasher compatibility, rotor removal, and water resistance vary by model.
Why the Bowl Needs More Frequent Cleaning
The bowl is exposed to saliva at every meal. Even when it looks empty, a thin film can remain on plastic, stainless steel, or ceramic. The CDC’s pet-supply cleaning guidance gives a simple schedule: clean bowls after every use for wet food and every day for dry food and water.
The FDA’s safe pet-food handling guidance recommends washing food bowls and measuring utensils with soap and hot water after each use. If your feeder manual gives a stricter instruction, use the stricter schedule.
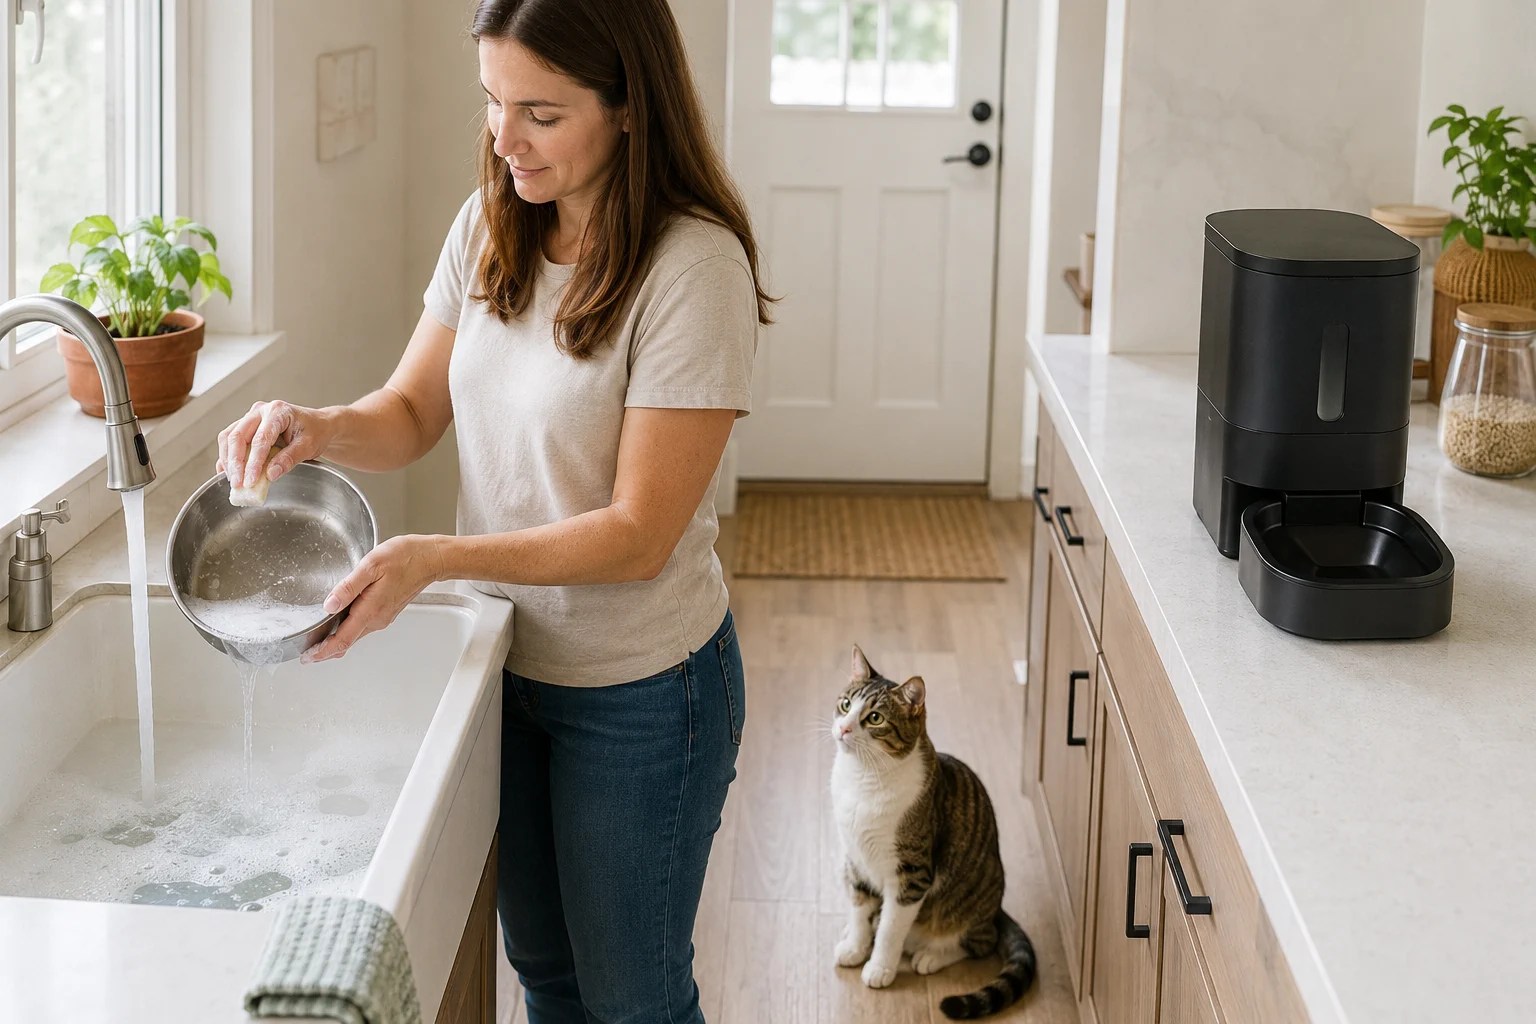
Wash food-contact parts separately from the electronic feeder base. AI-generated illustration.
How to Clean a Dry-Food Automatic Feeder
Turn it off and unplug it. Remove backup batteries if the manual recommends doing so before cleaning.
Remove the remaining kibble. Return clean food to its original bag or discard food that is damp, stale, contaminated, or mixed with old crumbs.
Disassemble only approved parts. Remove the bowl, hopper, lid, outlet cover, and rotor only as shown in the manual.
Remove dry crumbs first. A clean, dry brush can reach corners without pushing wet food dust into the motorized base.
Wash washable parts. Use warm water and dish soap unless the manufacturer specifies another method. Check before using a dishwasher.
Rinse and dry completely. Water trapped in a hopper or rotor can make kibble swell, clump, or stick.
Wipe the base carefully. Use a slightly damp cloth. Do not pour water into seams, buttons, charging ports, motors, or sensors.
Reassemble and test. Confirm the rotor is seated correctly, then run several manual dispenses before restoring the normal schedule.
Important: Never refill a hopper while parts are still damp. Do not spray cleaner directly onto the feeder base, and do not assume a removable-looking component is dishwasher-safe.
How to Clean a Wet-Food or Refrigerated Feeder
Wet-food residue requires faster attention. Discard leftovers according to the food label and feeder instructions, then wash the tray after every use. Remove cooling packs or refrigerated components as directed by the manufacturer.
Pay particular attention to lid grooves, hinges, seals, and tray edges. Food can remain in these areas even when the main compartment looks clean. If cooling depends on electricity, clean up promptly after a power interruption rather than assuming the food stayed at a safe temperature.
How Long Can Food Stay in the Feeder?
Temperature, humidity, hopper design, food oils, and exposure to air can affect freshness. Check storage limits before filling the feeder for several days.
Cleaning the Hopper and Rotor Without Causing Jams
Kibble dust and oils collect gradually. At each refill, inspect the bottom of the hopper, outlet, and rotor. A layer of fine crumbs, greasy residue, or compacted food means the feeder needs a deeper clean before more food is added.
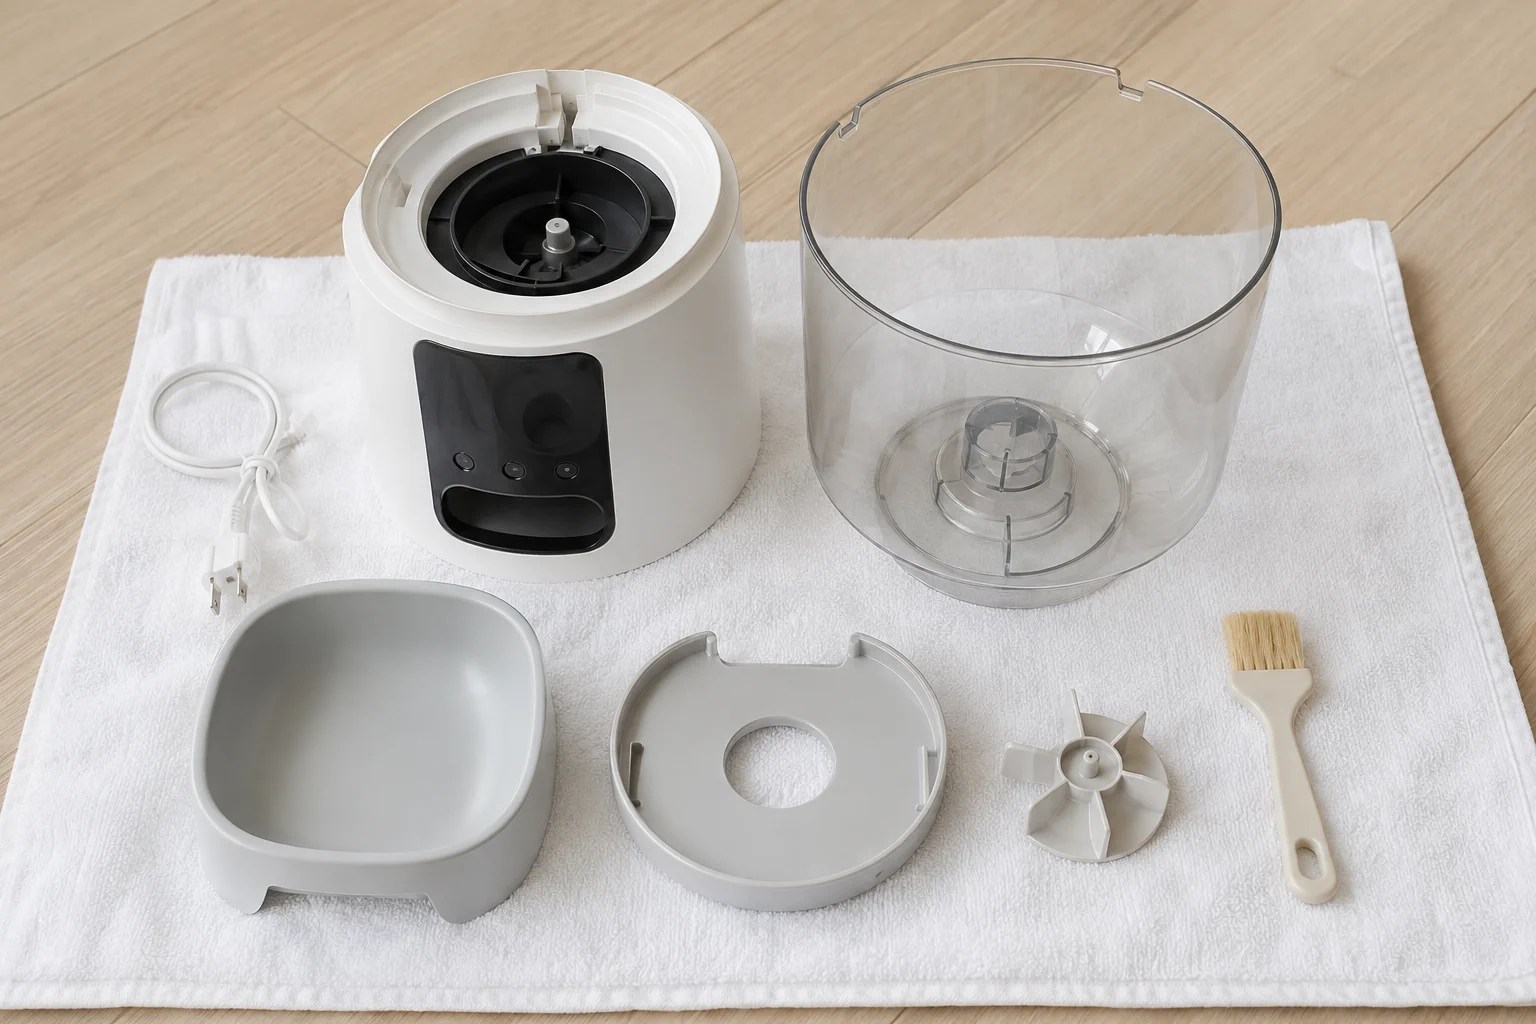
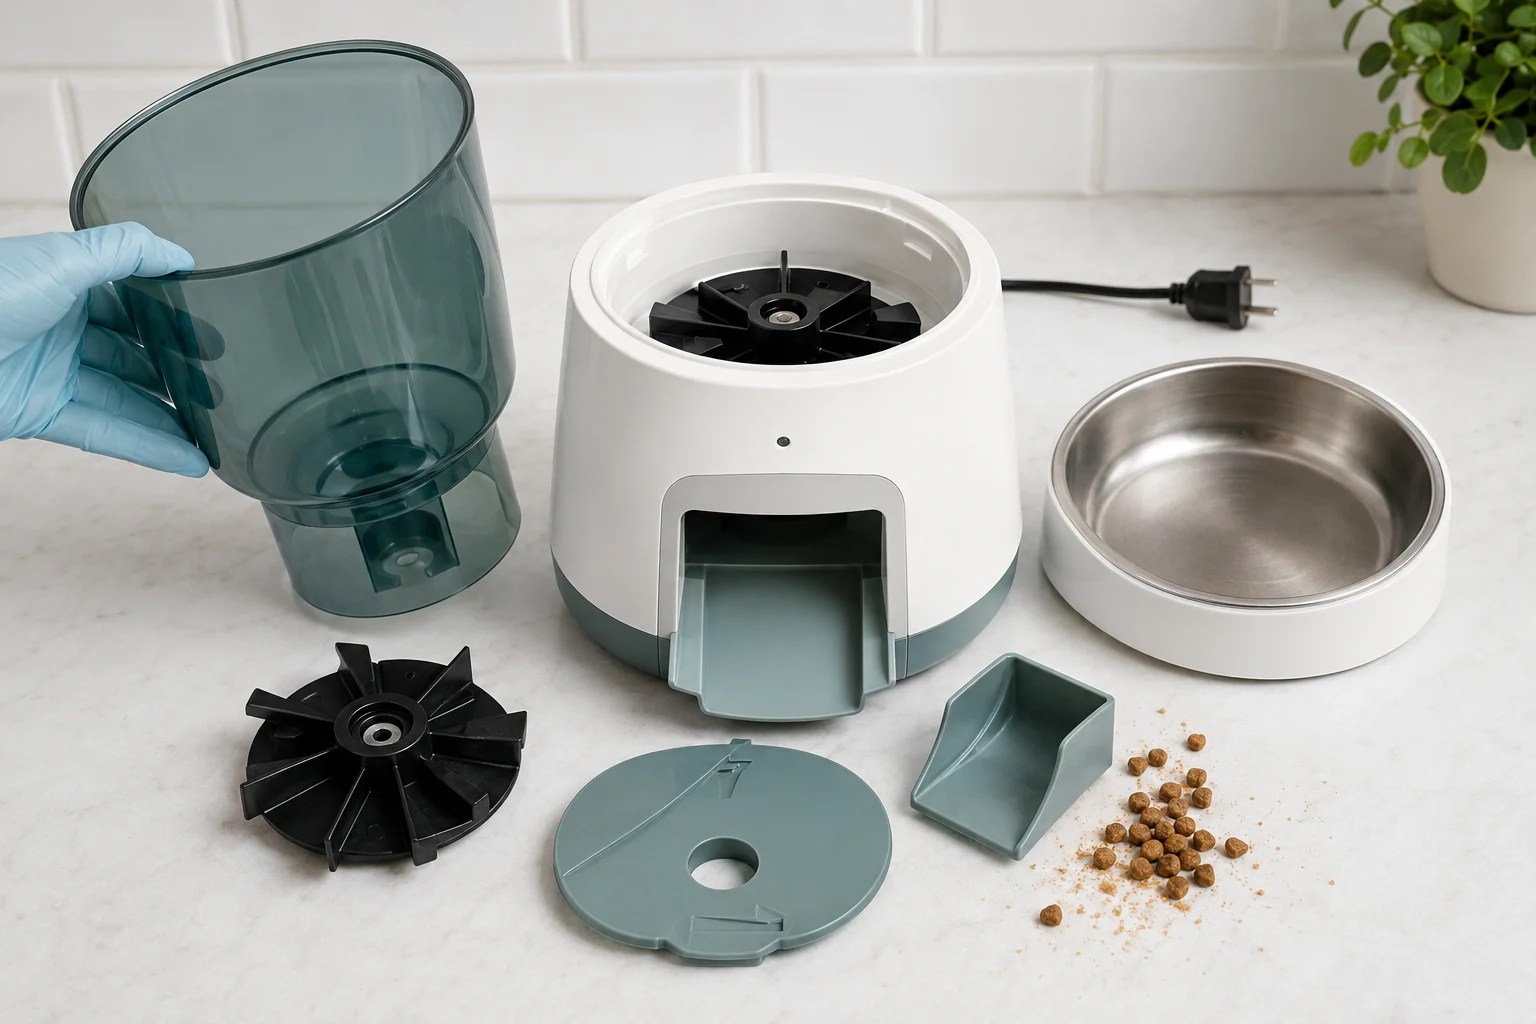
Reassemble the rotor exactly as instructed and test dispensing before the next scheduled meal. AI-generated illustration.
A clean feeder can still jam if a part is installed backward, the rotor is not fully seated, or wet components make kibble stick. After every deep clean, dispense your cat’s actual kibble several times and confirm that food reaches the bowl.
Feeder Still Not Dispensing?
Check the schedule, outlet, rotor, motor, power supply, and kibble compatibility in order.
Routine cleaning with soap or detergent physically removes food, dirt, and many germs. Disinfection is a separate step and is not automatically necessary for every routine wash. The CDC advises cleaning and disinfecting more often when a pet is sick or when a person or pet in the household is at higher risk of severe illness.
If disinfection is appropriate, use only a product and method compatible with the feeder material, follow the product label, keep pets away until the surface is safe and dry, and rinse food-contact surfaces when directed. The CDC specifically warns cat households not to use disinfectants containing phenol. Ask a veterinarian about cleaning after a contagious illness.
Signs You Should Clean the Feeder Immediately
a sour, rancid, musty, or unusual odor;
greasy film, saliva, stuck crumbs, or food dust;
moisture or condensation inside the hopper;
mold, insects, droppings, or webbing;
kibble dispensing slowly or inconsistently;
the cat hesitating to approach or eat;
wet food left after a meal;
vomiting, diarrhea, or suspected food contamination; or
a pet-food recall affecting food used in the feeder.
Have Ants Reached the Feeding Area?
Remove contaminated food, clean scent trails, inspect nearby entry points, and use feeder-safe prevention methods.
Can I put automatic feeder parts in the dishwasher?
Only when the manual identifies the exact part as dishwasher-safe. Heat can deform some plastics, damage seals, or cloud sensor windows.
Can I add new kibble on top of old kibble?
Continually topping up the hopper can leave older crumbs and oily food at the bottom. Inspect the outlet at every refill and periodically empty and clean the hopper according to the manual.
Is stainless steel easier to clean than plastic?
A removable stainless-steel bowl is often durable and easy to wash, but design matters. Scratches, seams, corners, and whether the part is truly removable can affect cleaning.
Do I need to reset the schedule after cleaning?
Not always, but disconnecting wall power or batteries may affect the clock or saved meals on some models. Confirm the time, schedule, portion, and control lock after reassembly.
Leaving the Feeder While You Are Away?
Clean, dry, refill, and test it before departure—but remember that cleaning does not replace in-person care.
Research note: This guide is based on U.S. government pet-food safety guidance and general cleaning principles reviewed on August 3, 2026. Pet Tech Compass did not independently test every feeder. Disassembly, dishwasher compatibility, cleaning agents, and water resistance vary by model; follow the manual for the exact feeder.
Affiliate disclosure: Pet Tech Compass may earn a commission from qualifying purchases made through links on this site, at no additional cost to you. This does not affect our editorial conclusions. This article focuses on maintenance rather than product rankings.
By Pet Tech Compass Editorial Team Last reviewed: July 31, 2026
Quick answer: Two cats can sometimes share one automatic feeder if they eat the same food, need similar amounts, approach the bowl calmly, and finish at roughly the same pace. However, one feeder cannot confirm how much each cat actually ate. If one cat steals food, eats faster, needs a prescription diet, is gaining or losing weight, or requires medication with meals, use separate feeding stations or a pet-activated feeder for each cat.
What matters most
A divided bowl does not guarantee that each cat receives half.
Separate bowls make appetite and portion changes easier to notice.
RFID and microchip feeders control access, but their compatibility rules differ.
One feeder may work
Use separate feeders
Both cats eat the same food
The cats need different diets
Their calorie needs are similar
Their portion needs are different
They eat at a similar pace
One cat steals or finishes the other cat’s food
Meals remain calm and unguarded
Either cat guards, blocks, or avoids the feeder
Both are healthy adults with stable weight
Either cat has medical or weight-management needs
The main question is not whether two cats can physically eat from the same machine. It is whether both cats can reliably receive the correct food and calories without stress or competition.
When choosing an automatic feeder for two cats, remember that a standard feeder releases food on a schedule but usually does not identify which cat eats it. Even if the feeder has two outlets, one confident or fast-eating cat may move between both bowls.
When Can Two Cats Share One Automatic Feeder?
Sharing may be workable when all of the following are true:
both cats eat the same food;
their daily calorie and portion needs are similar;
neither cat guards the feeder or pushes the other away;
both cats eat at a similar pace;
neither cat is on a prescription or life-stage-specific diet;
you can observe meals often enough to notice a change; and
both cats maintain an appropriate body weight and condition.
Even in this best-case situation, treat sharing as something to monitor rather than assume. Watch several complete meals at different times of day. A peaceful first minute does not prove that both cats receive equal amounts after you leave.
Why One Feeder Often Fails for Two Cats
One cat can eat more than its share
Food does not remain assigned to the cat it was intended for once it reaches an open bowl. A faster cat may finish its side and move to the other side, while a cautious cat may step away.
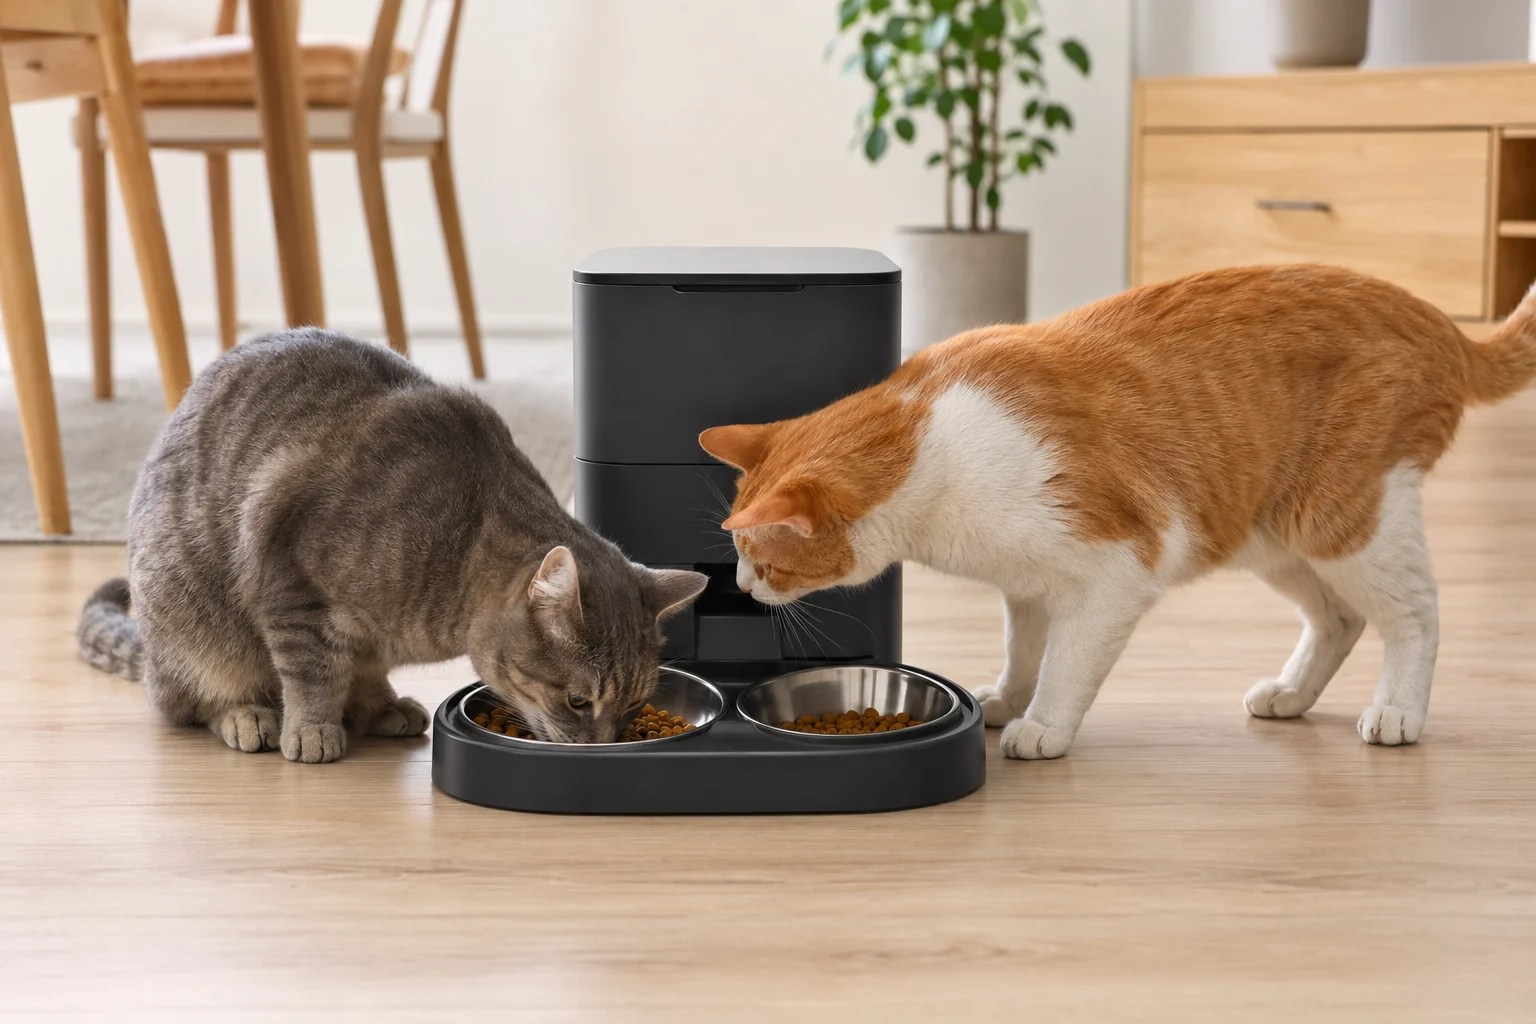
Two bowls can create more space, but they cannot guarantee an equal portion for each cat. AI-generated illustration.
You lose individual intake information
If food remains after a shared meal, you may not know which cat ate less. That can hide an early appetite change. VCA Animal Hospitals recommends separate bowls because pets have individual calorie needs and separate feeding makes reduced intake easier to identify.
Competition can be subtle
Conflict does not always look like hissing or fighting. Staring, blocking a route, waiting beside the feeder, eating unusually fast, or one cat leaving when the other arrives can indicate pressure around food.
Veterinary environmental guidance recommends multiple, separated resources in multi-cat homes. VCA’s feline environmental needs guidance says each cat should have access to its own resources, including feeding areas.
The cats may need different diets
Kittens, adults, seniors, and cats with medical conditions may need different foods or calorie targets. A cat on a therapeutic diet should not depend on another cat voluntarily staying out of an open bowl.
Health note: If either cat has diabetes, food allergies, kidney disease, urinary disease, obesity, unexplained weight change, poor appetite, or a prescription diet, ask your veterinarian how meals should be separated and monitored.
Does a Dual-Bowl Automatic Feeder Solve the Problem?
A splitter or dual-bowl attachment can distribute food into two eating spaces. It may reduce crowding when two compatible cats willingly remain on their own sides. It does not create individual access control.
Before relying on a dual-bowl feeder:
Run at least 10 test meals and compare the amount reaching each bowl.
Watch both cats for the entire meal.
Confirm that one cat does not switch bowls after finishing.
Weigh each cat regularly and track body condition.
Recheck whenever you change kibble or feeder settings.
Are Both Bowls Receiving the Amount You Expect?
Automatic feeder portion numbers are not standardized. Weigh repeated dispenses before dividing a meal between two cats.
One Standard Feeder vs. Two Feeders vs. Pet-Activated Feeders
Setup
Best suited to
Main limitation
One standard feeder
Compatible cats with the same food and similar needs
Cannot identify who ate each portion
Two standard feeders
Cats that eat scheduled meals in separate spaces
A cat may still visit the other feeder unless access is controlled
Pet-activated feeder for each cat
Different diets, food stealing, weight control, or individual tracking
Higher cost; tag or microchip compatibility and training must be checked
How RFID and Microchip Feeders Differ
“RFID feeder” and “microchip feeder” are sometimes used loosely, but they are not always interchangeable.
Microchip-compatible feeders may read a cat’s implanted identification microchip or a compatible collar tag.
Proprietary RFID feeders may work only with the manufacturer’s supplied collar tag.
Timed automatic feeders dispense by schedule but normally do not control which pet reaches the food.
Separate access-controlled stations help prevent food stealing and make individual intake easier to monitor. AI-generated illustration.
For example, the PETLIBRO One RFID feeder uses its dedicated collar tag and states that one feeder can sync with one tag. The SureFeed Microchip Pet Feeder is designed to use compatible implanted microchips or a collar tag.
Check the exact model before buying. Confirm how many pet identities it stores, whether access can be restricted to one cat, whether a collar is required, what happens during a power failure, and whether the bowl suits dry or wet food.
How to Set Up Separate Feeding Stations
Place the stations far enough apart that one cat cannot control both at once.
Use different rooms when visual blocking, rushing, or stealing continues.
Give each cat a clear approach and escape route.
Program measured portions for each cat rather than dividing one total by assumption.
Introduce moving lids, motors, and sounds gradually.
Observe complete meals during the adjustment period.
Record weight and appetite changes for each cat.
If you use multiple RFID units, follow the manufacturer’s placement instructions. Some systems specify minimum spacing to prevent reader interference.
Signs That Sharing Is Not Working
one cat gains weight while the other loses weight;
one cat waits until the other leaves;
either cat guards, blocks, stares, swats, or rushes the feeder;
food disappears before the slower cat arrives;
you cannot tell which cat skipped a meal;
one cat vomits after eating unusually fast; or
a cat repeatedly breaks into the other feeding area.
Do not solve these signs only by adding more food. That may increase the faster cat’s intake without improving access for the other cat.
Is One Cat Breaking Into the Feeder?
Use placement, barriers, lid security, stable mounting, and access control to reduce food stealing without creating a new safety risk.
Can two cats eat from a dual-bowl automatic feeder?
They can, but a dual bowl controls space rather than identity. Observe complete meals and confirm that one cat does not eat from both sides.
Do I need one automatic feeder per cat?
Not in every household. One per cat is the safer setup when calories, diets, eating speeds, health needs, or access differ. Separate feeders alone may not stop stealing unless the cats eat in separate rooms or the feeders restrict access.
Can one microchip feeder recognize two cats?
Some models can store multiple identities, but allowing two cats to open one feeder does not measure how much each cat ate. Product capabilities vary, so check the exact manual and access settings.
What if only one cat steals food?
Protect the slower or medically restricted cat’s meal with a separate room or access-controlled feeder. Do not rely on supervision alone when meals are dispensed while you are away.
Continue Checking Your Automatic Feeder
Is it safe to leave the feeder unattended?
Check food access, water, monitoring, backup plans, and in-person care before leaving two cats alone.
Research note: This article is based on veterinary educational resources and publicly available manufacturer information reviewed on July 31, 2026. Pet Tech Compass did not independently test every feeder mentioned. Access rules, compatible identifiers, app features, spacing requirements, and specifications can change by model or region. Verify important details using the exact product manual.
Affiliate disclosure: Pet Tech Compass may earn a commission from qualifying purchases made through links on this site, at no additional cost to you. This does not affect our editorial conclusions. This article currently focuses on feeding setup rather than product rankings.
By Pet Tech Compass Editorial Team Last reviewed: July 31, 2026
Quick answer: Automatic cat feeders can dispense reasonably consistent meals, but the number shown as “one portion” is not a standardized weight. It may represent a fixed volume, a conveyor increment, or an approximate number of grams. Kibble size, shape, density, crumbs, moisture, and the dispensing mechanism can all change the weight that reaches the bowl. The most reliable approach is to weigh at least 10 consecutive dispenses of your cat’s actual food, calculate the average, and use that measured result to set the schedule.
What matters most
One “portion” does not mean the same amount on every feeder.
Kibble size and density can change the delivered weight.
Test 10 dispenses with a kitchen scale before setting your cat’s schedule.
An automatic feeder may be more consistent than estimating food by eye, but that does not mean every programmed portion contains exactly the same number of grams or calories. A feeder usually controls a mechanical movement or volume. It does not necessarily weigh the food before serving it.
This distinction matters because two kibbles can fill the same space but weigh different amounts. Even within one bag, irregular pieces and crumbs can change how much food fits into the feeder’s rotor, auger, or conveyor.
“One Portion” Is Not a Universal Measurement
Feeder portion numbers are model-specific. Do not assume that Portion 1 means one tablespoon, 10 grams, or the same amount as Portion 1 on another feeder.
“About” is an estimate rather than a guarantee for every food and cycle.
These examples show why a universal conversion chart would be misleading. Confirm the specification for your exact model, then test it with the food you actually use.
Consistency and Accuracy Are Different
A feeder can be consistent without matching the amount you expected. For example, it may dispense close to 8 grams every time even though you assumed one portion meant 10 grams.
Consistency asks whether repeated meals are similar to one another.
Accuracy asks whether the average output matches your intended target.
Both matter. A consistent feeder can often be adjusted by changing the number of programmed portions. An inconsistent feeder is harder to compensate for because the output varies unpredictably.
What Changes the Weight of a Dispensed Portion?
Kibble size and shape
Small, uniform pieces may pack into a dispensing chamber differently from large, flat, triangular, or mixed-shape pieces. Oversized kibble may also bridge over the outlet or jam rather than filling each chamber evenly.
Food density
Equal volumes do not necessarily have equal weights. Dense kibble can provide more grams—and potentially more calories—than a lighter food occupying the same portion volume.
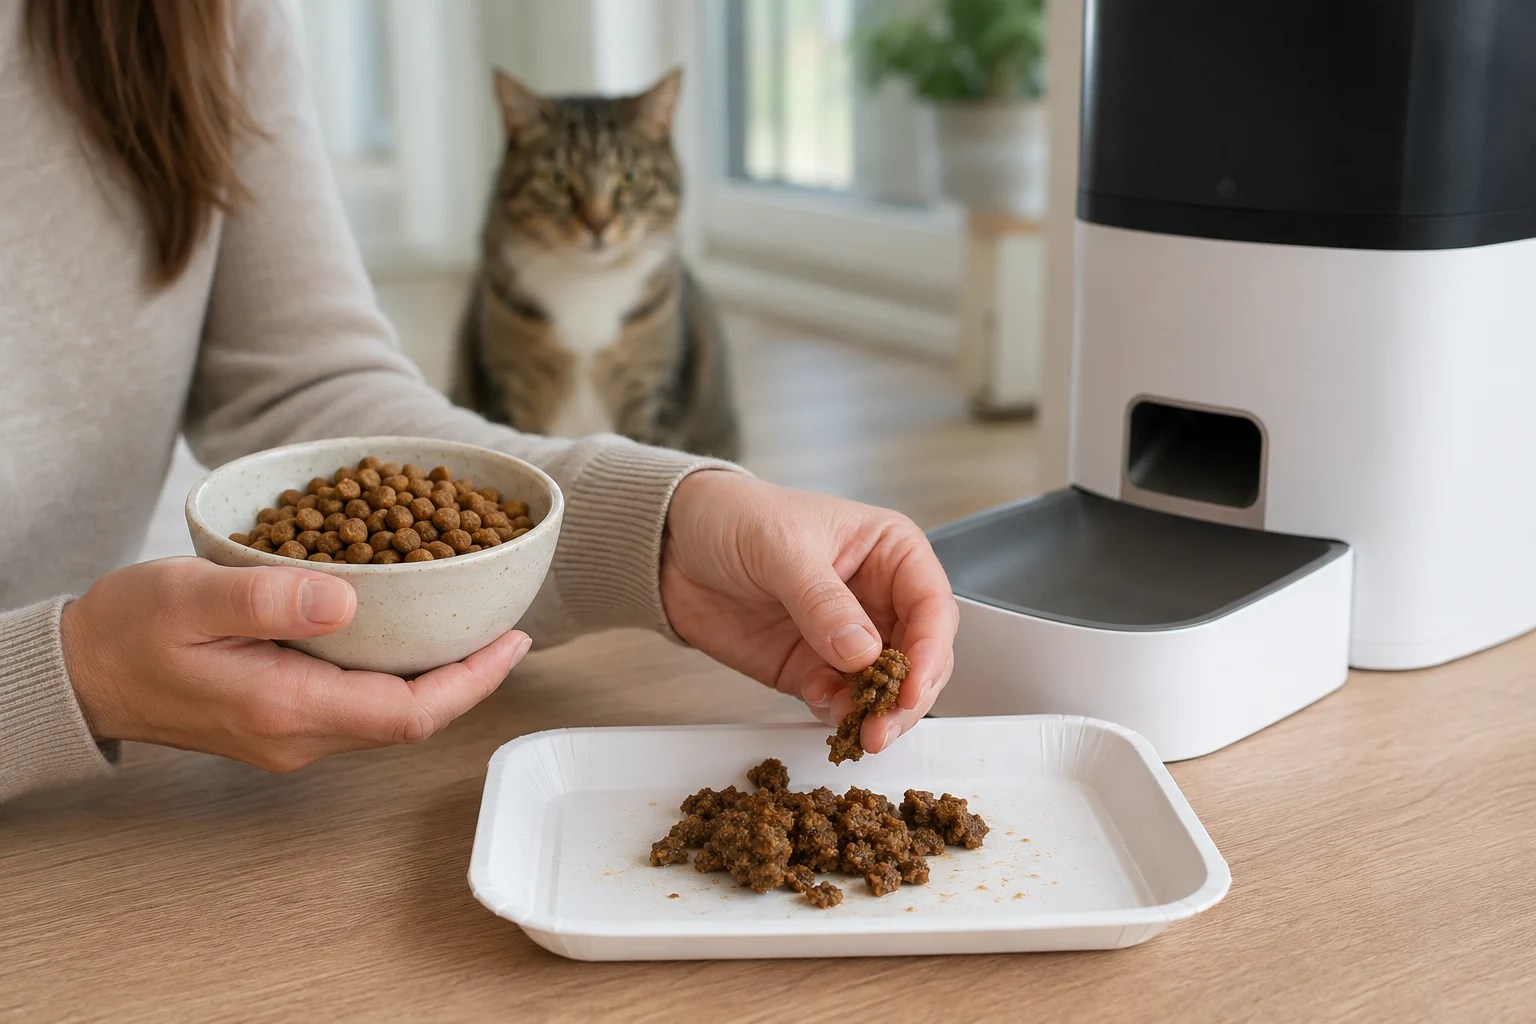
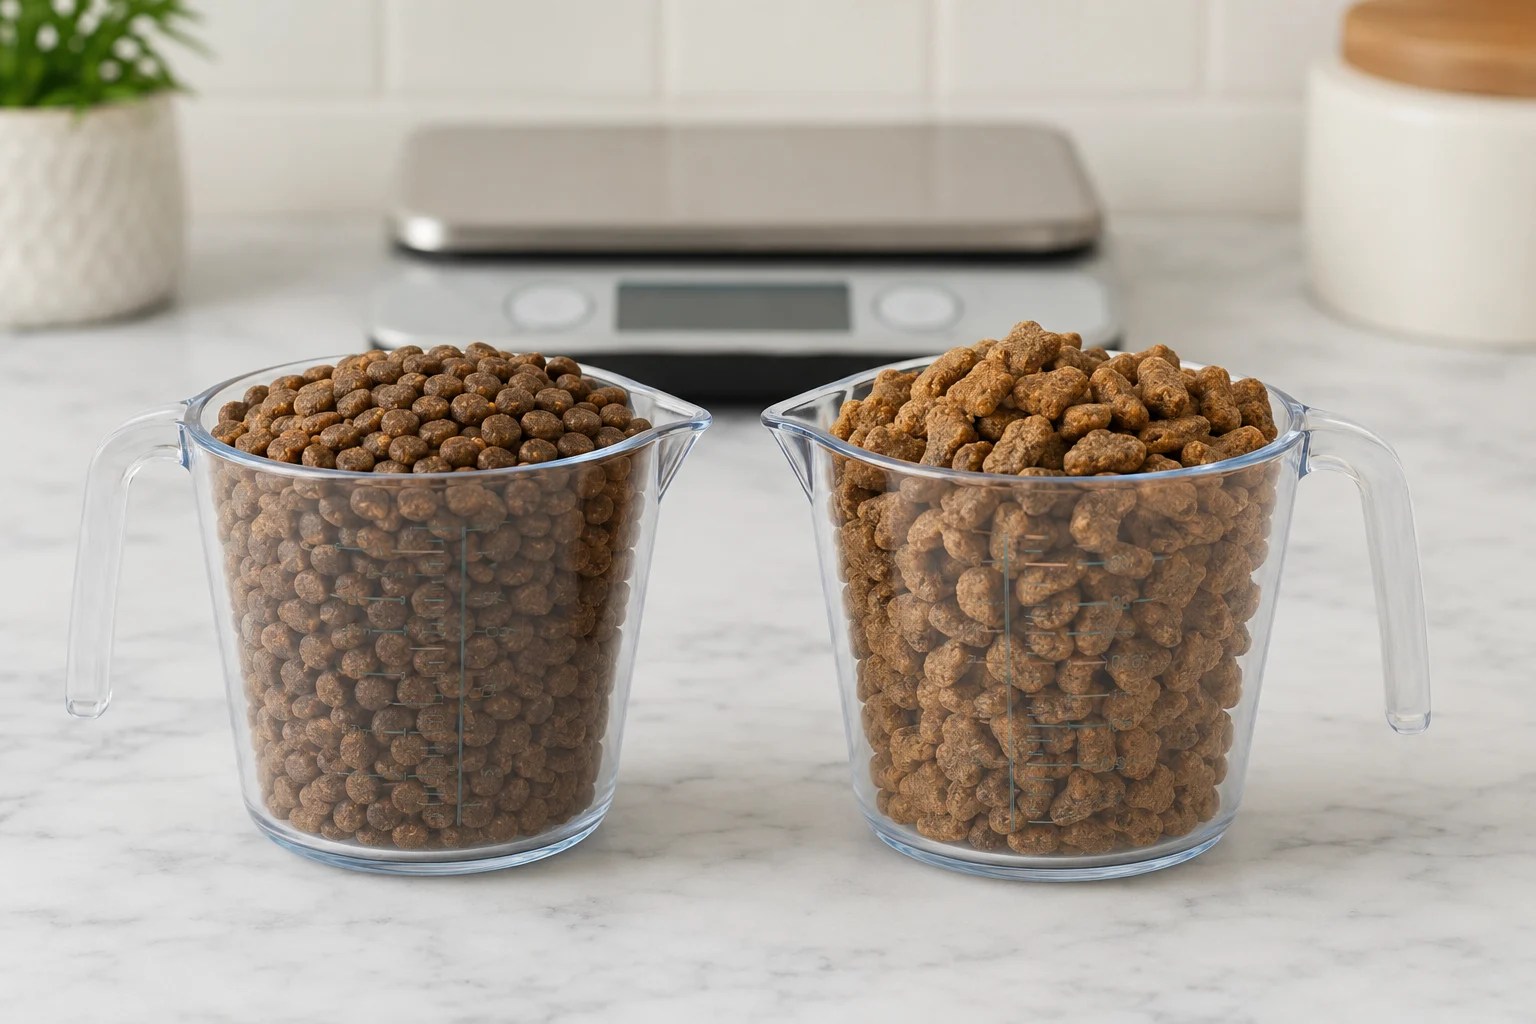
Equal volumes of different kibble may not have the same weight or calorie content. AI-generated illustration.
Crumbs, coating, and moisture
Fine crumbs can fill gaps between larger pieces. Oily coatings can change how freely food moves, while humidity can affect flow and increase the chance of clumping. Clean the food-contact mechanism according to the manufacturer’s instructions and keep washable parts completely dry. For a practical maintenance schedule, see how often you should clean an automatic cat feeder.
The dispensing mechanism
Rotors, augers, conveyors, and compartment trays meter food differently. Some feeders deliver a small mechanical increment several times to build a meal. The proportional effect of one extra or incomplete increment can be larger when the programmed meal is very small.
Assembly and maintenance
An incorrectly seated rotor, dirty chute, deformed silicone vane, or feeder that was not primed after refilling can change the amount delivered. If output suddenly falls or becomes erratic, treat it as a possible dispensing problem rather than simply increasing the schedule.
Is Your Feeder Dispensing Too Little—or Nothing?
Use the manual-feed test to separate a portion problem from a jam, power problem, schedule error, or motor fault.
A digital kitchen scale that reads in 1-gram increments is sufficient for a practical home check. For very small portions, a scale with finer resolution may help, but the feeder itself may vary by more than the scale’s extra decimal place.
Use the exact kibble you plan to keep in the feeder.
Fill and prime the feeder according to its manual.
Place an empty bowl on the scale and press tare so it reads zero.
Dispense the same programmed portion into the bowl.
Record the weight in grams.
Empty the bowl, tare again, and repeat for at least 10 cycles.
Add the 10 weights and divide by 10 to calculate the average.
Also note the lowest and highest results; the average alone can hide wide variation.
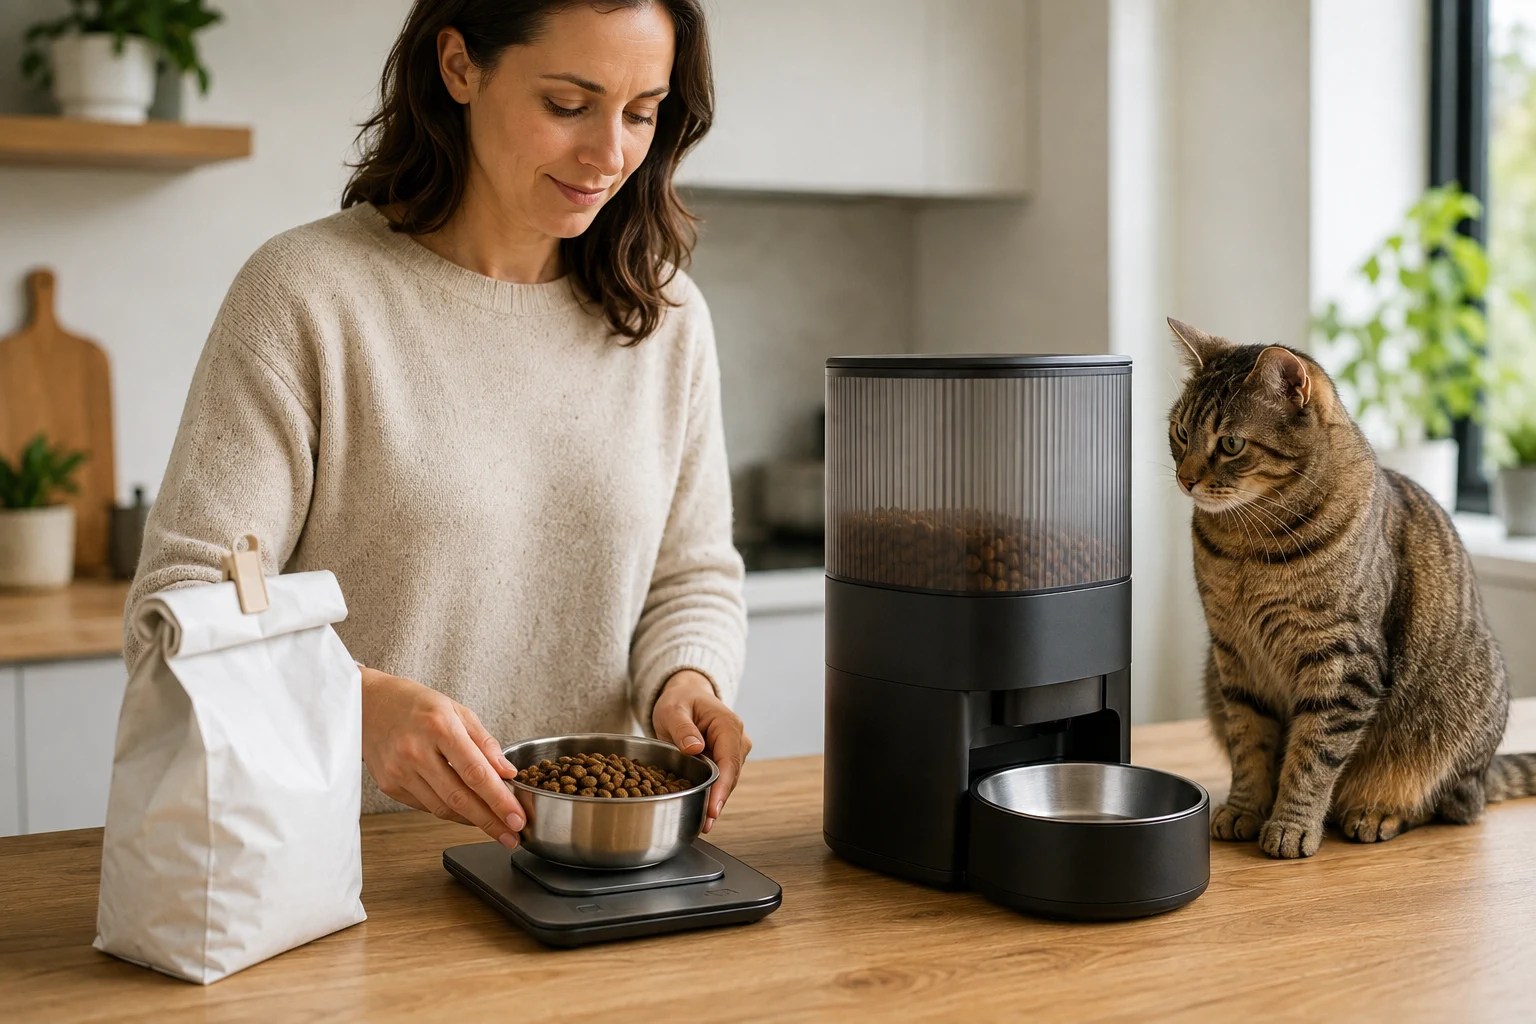
Weighing repeated dispenses separately reveals both the average portion and cycle-to-cycle variation. AI-generated illustration.
Do not combine all 10 dispenses in one bowl and divide the final weight unless you only want the average. Weighing each cycle separately lets you see whether individual meals are consistent.
Example calculation
Suppose 10 identical test cycles weigh 9, 10, 8, 9, 10, 9, 8, 10, 9, and 9 grams. The total is 91 grams, so the average is 9.1 grams per programmed portion. The observed range is 8–10 grams.
If you schedule four of those portions, the estimated average meal is 36.4 grams. Test the full four-portion meal as well; do not assume that multiplying one small test perfectly predicts a larger dispensing cycle.
Convert Grams to Calories
The feeder controls food quantity, but your cat’s diet is ultimately based on calories and nutritional needs. Check the calorie statement on the food package. It may list kilocalories per cup, per kilogram, or both.
If the label lists kcal per kilogram, use this formula:
Calories per gram = kcal per kilogram ÷ 1,000
Meal calories = measured grams × calories per gram
Example: a food containing 3,800 kcal/kg provides 3.8 kcal per gram. A measured 30-gram meal provides approximately 114 kcal.
Feeding directions on the package are a starting point, not an individualized prescription. Your cat’s age, activity, body condition, neuter status, health, and weight goal can change the appropriate intake. Ask your veterinarian to establish a calorie target, particularly for weight loss or medical nutrition.
Health note: Do not make a large calorie reduction based only on a feeder test. Cats should not undergo abrupt or unsupervised crash dieting. If your cat needs to lose weight, has diabetes, eats a therapeutic diet, or requires meals coordinated with medication, use a veterinarian-approved plan and verify the feeder’s output regularly.
When Should You Test Again?
Repeat the 10-cycle check when:
you change food brand, recipe, kibble size, or shape;
you open a new bag that appears physically different;
you clean or reassemble the dispensing mechanism;
the feeder begins producing noticeably different portions;
your cat starts gaining or losing weight unexpectedly; or
portion control is part of a veterinary treatment plan.
For routine use, periodically weighing a scheduled meal is more informative than assuming the original calibration will never change.
What If the Portions Vary Too Much?
Confirm that the kibble is within the model’s approved size and food-type range.
Empty and clean the user-removable rotor, outlet, and sensors as instructed.
Dry all washable parts completely and reassemble them correctly.
Prime the feeder if required.
Repeat the 10-cycle test.
Contact the manufacturer if wide variation, grinding, jams, or incomplete rotations continue.
Do not compensate for a possible mechanical fault by continually increasing the scheduled portion. A blockage can clear unexpectedly and release more food than intended.
Frequently Asked Questions
Are automatic feeder portions accurate in grams?
Some manufacturers provide an approximate gram value, but many feeders meter volume or mechanical increments rather than weighing each meal. Measure repeated dispenses with your actual kibble before relying on the estimate.
Why does the same feeder dispense different weights with different food?
Kibble density, size, shape, coating, and crumbs change how much food fits into the dispensing space and how freely it moves.
Is weighing cat food better than using a measuring cup?
Ten cycles provide a practical starting sample. Record each result separately, calculate the average, and note the minimum and maximum.
Can I use an automatic feeder for a cat on a weight-loss plan?
An automatic feeder can support scheduled portion control, but the calorie target and rate of weight loss should come from your veterinarian. Verify the actual output in grams and monitor your cat’s body weight and condition.
Continue Checking Your Automatic Feeder
Will the feeder keep its schedule without Wi-Fi?
Learn which functions may continue locally and which app features usually stop.
Research note: This article is based on publicly available manufacturer specifications and veterinary educational resources reviewed on July 31, 2026. Pet Tech Compass did not independently test every feeder mentioned. Portion definitions, mechanisms, food compatibility, apps, and product specifications may change by model, region, hardware revision, or firmware. Verify important information using the exact model number and your own measured results.
Affiliate disclosure: Pet Tech Compass may earn a commission from qualifying purchases made through links on this site, at no additional cost to you. This does not affect our editorial conclusions. This article currently focuses on measurement and calibration rather than product rankings.
By Pet Tech Compass Editorial Team Last reviewed: July 30, 2026
Quick answer: If your automatic cat feeder is not dispensing food, feed your cat manually first. Then use the feeder’s manual-feed button or app control. If the motor runs but no food comes out, check for an empty hopper, incompatible kibble, a blocked outlet, or a dirty or incorrectly installed rotor. If the motor does not run, check the power source, control lock, pause setting, and model-specific error codes. If manual feeding works but scheduled meals do not, review the clock, time zone, AM/PM setting, meal schedule, and portion size.
A missed meal can come from something as simple as an empty hopper, but it can also point to a jammed dispensing mechanism, a schedule set to zero portions, a power problem, or a failed motor. The fastest way to find the cause is to test one function at a time instead of resetting everything immediately.
This guide covers hopper-style automatic feeders that dispense dry food. Rotating tray feeders, refrigerated wet-food feeders, and RFID feeders use different mechanisms, so follow the manual for your exact model before removing parts or changing settings.
Before taking the feeder apart, run a manual-feed test. The button name varies by model and may appear as Feed Now, Manual Feed, or a bowl icon. Smart feeders may also offer manual dispensing in their app.
Confirm that food is available in the hopper.
Place an empty bowl under the outlet so you can see exactly what comes out.
Unlock the control panel if the feeder has a child lock or pet lock.
Request one or more portions using the feeder’s manual control.
Listen for the motor and watch whether the rotor or conveyor moves.
What happens
Most useful next check
The motor runs, but no food comes out
Check kibble size, bridging, the outlet, rotor, and food-tank assembly.
The motor does not run
Check power, batteries, control lock, pause mode, and error indicators.
Manual feeding works, but scheduled feeding does not
Check the clock, time zone, AM/PM, schedule status, and scheduled portion.
Food comes out, but less than expected
Prime the feeder if required, clean the mechanism, and verify the model’s portion definition.
A manual-feed test can help separate a food-flow problem from a power or motor problem. AI-generated illustration.
If the feeder makes grinding, clicking, or repeated struggling noises, stop the test. Disconnect its power before inspecting the dispensing mechanism.
If the Motor Runs but No Food Comes Out
1. Check for an empty hopper or food bridging
A hopper can look full even when no food is reaching the rotor. Pieces of kibble may press together and form a bridge above the dispensing opening, leaving an empty space underneath.
Gently inspect the food level from above without placing your hand near a moving mechanism. If the food is oily, irregularly shaped, crushed into dust, or exposed to moisture, empty the hopper and inspect the outlet rather than repeatedly forcing the motor to run.
Those ranges are examples, not a rule for all feeders. Check the product manual or support page for your exact model number. Oversized pieces may block the outlet, while very small pieces and crumbs can collect around sensors or moving parts. Food type matters too: do not place wet, raw, freeze-dried, or semi-moist food in a feeder unless its manufacturer specifically permits it.
3. Clear the food outlet and rotor
PETLIBRO’s Easy Feed troubleshooting instructions tell owners to empty the tank and clean the rotor, food outlet, and anti-clog detector. Its Granary guidance also says to check whether the silicone rotor is deformed.
Safer cleaning sequence:
Unplug the feeder and remove its batteries, if installed.
Remove the food and follow the model-specific disassembly instructions.
Clear loose kibble and crumbs from the rotor and outlet.
Wash only the parts the manufacturer identifies as washable.
Dry every washed part completely before reassembly.
Reassemble the rotor, cover, tank base, and hopper in the documented orientation.
Reconnect power and repeat the manual-feed test.
Disconnect power and follow the instructions for your exact model before removing or cleaning feeder parts. AI-generated illustration.
4. Check that the hopper and rotor are seated correctly
A feeder may power on normally even when the tank base, rotor cover, silicone vane, or hopper is not fully locked into position. This is especially likely after cleaning.
Remove and reinstall only the user-removable components described in the manual. Do not force a part that does not align, and do not operate the feeder with a safety cover removed.
Some feeders ignore panel input while a child lock or pet lock is active. Others include a pause function that stops dispensing while preserving the schedule. PetSafe’s Healthy Pet Simply Feed, for example, includes a Pause Feed feature.
Look for a lock symbol, pause indicator, disabled-meal icon, or model-specific status light before assuming the motor has failed.
3. Read the error code before resetting
Error codes may indicate an empty tank, blocked outlet, motor or sensor problem, or incorrectly installed component. Record the code before changing settings. A factory reset can erase Wi-Fi credentials and schedules, so use it only after checking the official instructions.
4. Stop if the motor or gear appears damaged
If the rotor still does not move with correct power, unlocked controls, and a clear mechanism, the feeder may have an internal motor, gear, sensor, or control-board fault. Stop repeatedly activating it if you hear grinding, smell overheating, see damaged wiring, or notice heat or deformation.
Do not open a sealed electrical base. Contact the manufacturer with the model number, serial number, error code, and a short video of the failed test.
If Manual Feeding Works but Scheduled Meals Do Not
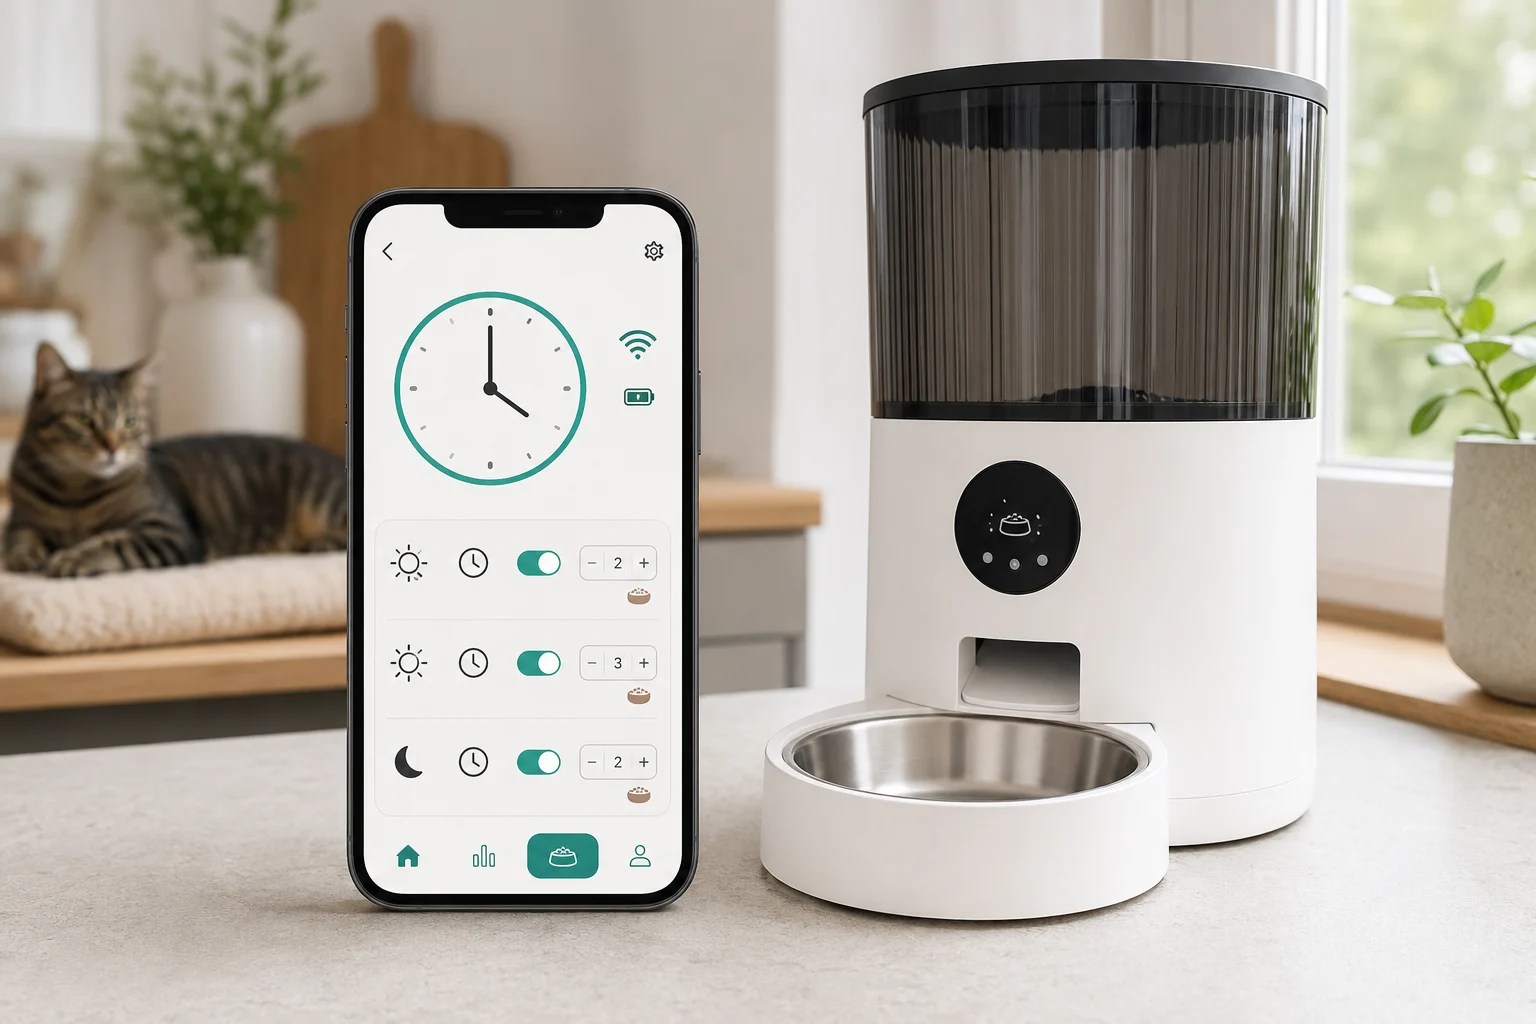
Check the device clock, enabled meals, portion settings, and connection status when manual feeding works but scheduled feeding does not. AI-generated illustration.
A successful manual-feed test makes a complete motor failure less likely. Focus next on the feeder’s clock and meal program.
Stop troubleshooting and contact the manufacturer when:
the motor does not move after power and lock checks;
the same jam returns with compatible, dry kibble;
a rotor, vane, gear, cable, or housing appears damaged;
the feeder becomes unusually hot or smells burnt;
an error code remains after the documented procedure;
the feeder dispenses unpredictably after schedules are verified; or
repair would require opening a sealed electrical base.
Provide the exact model number. Product names are often reused across generations, and the correct procedure, kibble range, error codes, and replacement parts may differ.
How to Reduce the Risk of Another Missed Meal
Test several complete scheduled cycles before relying on a new feeder.
Use only a food type and kibble size approved for the exact model.
Keep the hopper, outlet, rotor, and sensors clean and completely dry.
Check the food level rather than relying only on an app alert.
Test backup batteries under a real dispensing load.
Review the clock after power loss, battery replacement, travel, or daylight saving time changes.
Arrange a person to check your cat during longer absences; a feeder should not be the only safety layer.
Frequently Asked Questions
Why did my automatic cat feeder suddenly stop dispensing?
Start with a manual-feed test. A sudden failure can come from bridged or jammed kibble, an empty hopper, lost power, active control lock, paused schedule, or a mechanical fault. The test helps separate a food-flow problem from a power or programming problem.
Why is my automatic cat feeder making noise but not dispensing food?
The motor may be turning against jammed or incompatible kibble, or the rotor may be incorrectly installed. Stop repeated tests if you hear grinding or struggling. Disconnect power, empty the hopper, and follow the model-specific instructions for inspecting the outlet and rotor.
Can large kibble jam an automatic feeder?
Yes. Kibble that is larger than the model’s documented range—or irregular in shape—may block the outlet or prevent consistent portions. Check the specification for the exact model instead of relying on a universal size recommendation.
Why does Feed Now work but my schedule does not?
If manual dispensing works, check the feeder clock, time zone, AM/PM setting, selected days, scheduled portion, and whether the meal is enabled and saved. Also check for pause or vacation mode.
Can a Wi-Fi outage stop my cat feeder from dispensing?
It depends on the model. Some feeders continue using schedules stored inside the device while app controls and notifications stop. Others may depend more heavily on a connection during setup or synchronization. Check the official support documentation and test the behavior before relying on it.
Should I lubricate a stuck feeder motor or gear?
Do not apply oil, grease, or spray unless the manufacturer specifically instructs you to use a named product in a named location. Lubricants can contaminate food-contact areas, damage plastics, or hide an internal fault.
How do I know whether my cat actually missed a meal?
Check the bowl, hopper level, feeding log, and—if available—camera footage. A successful dispense notification confirms only what the system detected; it does not necessarily prove that the expected amount reached the bowl or that your cat ate it.
Research note: This article is based on publicly available manufacturer support pages and veterinary educational resources reviewed on July 30, 2026. Pet Tech Compass did not hands-on test every feeder or fault described here. Features, error codes, compatible food sizes, and troubleshooting steps can vary by model, region, hardware revision, app version, and firmware. Confirm important instructions with the manufacturer using your feeder’s exact model number.
Affiliate disclosure: Pet Tech Compass may earn a commission from qualifying purchases made through links on this site, at no additional cost to you. This does not affect our editorial conclusions. This article currently focuses on troubleshooting rather than product recommendations.
Short answer: Some automatic cat feeders keep
dispensing during a power outage if installed backup batteries power the
motor and the meal schedule is stored on the device. A motorized feeder
that depends only on wall power will stop dispensing. Wi-Fi, cameras,
app controls, sensors, and refrigeration may still become
unavailable.
A reference to battery backup does not by itself confirm that the
batteries power the dispensing motor. The exact behavior depends on the
model.
Before relying on a feeder during an outage, confirm:
Whether backup batteries power the dispensing motor
Whether the feeding schedule is stored inside the feeder
Research note: This guide is based on manufacturer
product pages and official support documentation. We have not physically
tested every feeder mentioned. Specifications and firmware behavior can
change, so verify critical details using the exact model number.
Affiliate disclosure: This article may contain
affiliate links. If you purchase through one of these links, we may earn
a commission at no additional cost to you.
What a Power Outage
Actually Disables
An automatic feeder needs electrical energy to turn its motor and
release food. The result depends on its power design:
Feeder configuration
Likely result during a power outage
Wall-powered feeder with no backup battery
Scheduled dispensing stops
Feeder with installed, working backup batteries
Scheduled meals may continue if the batteries power the motor
Battery-operated programmable feeder
Feeding may continue until its batteries are depleted
Smart feeder in battery mode
Scheduled meals may continue, while connected or high-power features
may stop
Refrigerated wet-food feeder
Feeding may continue for a documented period; cooling must be
verified separately
“Battery backup” is not a universal promise. It can mean different
things across products. The documentation must explicitly say that
scheduled meals continue or that the motor operates during an
outage.
Will Scheduled Meals
Continue?
Illustrative image showing a generic feeder battery compartment. Battery requirements vary by model. AI-generated illustration.
They may continue if the feeder has:
Backup batteries installed before the outage
Enough battery charge to operate the dispensing mechanism
A meal schedule saved locally
No mechanical jam or empty hopper
The following examples were selected because publicly accessible
manufacturer documentation describes their outage behavior. Inclusion is
not a ranking or endorsement.
Model
Backup source
Manufacturer-documented behavior
Functions limited in battery mode
Official source
PetSafe Smart Feed, 1st and 2nd Generation
Four D-cell batteries
Up to seven days while maintaining regularly scheduled feedings
The Polar figure refers to continuation of the feeding
schedule, not a verified 12-hour cooling period. Do not treat
it as a refrigeration guarantee.
These examples apply only to the named models and documented
versions. They do not establish how every product from those brands will
behave.
What May Stop in Battery
Mode?
Battery backup is generally designed to preserve essential
dispensing, not the full smart-feeder experience.
Depending on the model, unavailable features may include:
Live camera viewing
Video recording
Wi-Fi connectivity
Food-level detection
Vacuum sealing or air pumping
Other app, sensor, or cooling functions not explicitly supported in
battery mode
The feeder may release food on time while appearing offline in the
app. Confirm the exact limitations in the model’s current manual.
However, a lack of alerts creates another risk: you may not receive a
warning about a jam, low food level, or depleted battery. Battery-backed
dispensing is useful, but it does not provide complete remote
assurance.
Does
Battery Backup Run the Motor—or Only Save the Settings?
Preserving settings is not the same as operating the motor.
Look for wording such as:
“Maintains scheduled feedings”
“Dispenses according to the saved schedule”
“Automatically switches to battery power”
“Backup batteries operate the feeder during a power outage”
If the documentation does not explicitly confirm dispensing, contact
the manufacturer and ask whether the batteries power the motor—not
merely the clock, memory, or display.
How Long Will Backup
Batteries Last?
There is no reliable universal estimate.
Runtime can be affected by:
Battery size and chemistry
Number and size of scheduled meals
Meal frequency and motor load
Features that remain active
Battery age and temperature
The feeder’s overall power design
Manufacturer estimates should be treated as model-specific planning
figures, not guarantees. A stated maximum may be based on particular
feeding schedules and new batteries.
Do not mix old and new batteries or different battery types. Use the
battery chemistry specified in the manual. Some manufacturers expressly
require alkaline batteries and advise against rechargeable batteries for
backup use.
Dry-Food
and Refrigerated Wet-Food Feeders Have Different Risks
Backup dispensing does not necessarily mean that refrigeration continues during an outage. AI-generated illustration.
A dry-food feeder mainly needs backup power for its clock,
electronics, and dispensing motor.
A refrigerated wet-food feeder also needs to control food
temperature. If cooling stops, the feeder may later open a compartment
even though the food has not remained properly refrigerated.
For that reason:
Confirm how long refrigeration or cooling continues during an
outage
Do not treat dispensing as proof that wet food remained safe
Discard food when its time and temperature history are
uncertain
Backup power for the lid or tray does not necessarily mean
uninterrupted refrigeration.
How to Test Your
Feeder Before Depending on It
Test one or two scheduled meals while you are home and restore wall power afterward. AI-generated illustration.
Run a controlled test while you are home.
Install the manufacturer-specified backup batteries.
Create a small scheduled meal a few minutes ahead.
Confirm that the feeder shows normal wall power.
Unplug the power adapter from the wall.
Check whether the feeder indicates battery mode.
Wait for the scheduled time and confirm that food dispenses.
Check which app, camera, alert, and manual-control functions
stop.
Restore wall power and confirm that normal operation resumes.
Verify that later scheduled meals remain correctly programmed.
Use only a small amount of food and test one or two scheduled meals.
Repeat the test after replacing batteries or changing important
settings. Do not interrupt power while firmware is being updated.
Test in a dry environment by disconnecting the wall adapter only. Do
not alter wiring, operate circuit-breaker equipment, or deliberately
drain the batteries completely.
Power-Outage Preparation
Checklist
Before leaving your cat with an automatic feeder:
Install fresh, compatible backup batteries
Confirm that the batteries power the motor
Test a scheduled meal with wall power disconnected
Fill the hopper without exceeding its marked capacity
Use the supported kibble size and type
Check the dispensing path for crumbs or obstructions
Confirm that the clock, time zone, and schedule are correct
Place the feeder on a dry, level, stable surface
Provide a separate supply of fresh water
Arrange in-person care for longer absences
If outages are common in your area, replace batteries conservatively
rather than waiting for complete depletion.
Should You Use a
UPS With an Automatic Feeder?
A UPS may temporarily power some feeders, but matching voltage alone
does not establish compatibility. Rated wattage or VA, output waveform,
motor or compressor starting current, grounding, and both manufacturers’
instructions can matter.
Do not use a UPS unless the feeder and UPS documentation support the
intended load. Never assume that a motorized or refrigerated feeder is
compatible. Keep electrical equipment away from spills and test any
approved setup under supervision. Schneider Electric also advises
checking UPS compatibility carefully for non-computer loads in its official equipment
guidance.
A UPS cannot prevent food jams, empty hoppers, spoiled food, or
mechanical failure.
When Battery Backup Is Not
Enough
Even a battery-backed feeder can fail because of:
Incorrect battery installation
Depleted or leaking batteries
Food jams
An empty hopper
Motor or sensor failure
Moisture inside the food path
A pet tipping or opening the feeder
Incorrect schedules or time settings
An automatic feeder should not be the only care plan for a long trip.
It cannot refresh water, clean the litter box, observe illness, or
respond to an emergency.
For extended absences, arrange for a trusted person or professional
pet sitter to inspect the cat, feeder, water, litter box, and home
environment.
Final Answer
An automatic cat feeder may continue working during a power outage,
but only if its backup power system operates the dispensing motor and
its meal schedule remains available to the device.
Look for official confirmation of three essentials:
The batteries operate scheduled dispensing
The required battery type and estimated duration are documented
Battery-mode limitations and power-restoration behavior are
explained
Install the correct batteries before an outage occurs and test the
feeder by unplugging it while you are home. Do not rely on the phrase
“battery backup” without confirming exactly what the batteries
power.
Frequently Asked Questions
Will
an automatic cat feeder work if the electricity goes out?
Only if it can operate from installed batteries or another compatible
backup source. A wall-powered feeder without motor-capable backup power
will stop dispensing.
Do backup
batteries keep the camera and Wi-Fi working?
Often not. Some smart feeders disable cameras, Wi-Fi, recording,
sensors, or other energy-intensive functions while preserving scheduled
dispensing.
Will
the feeder remember its schedule after power returns?
Many models retain saved schedules, but behavior varies. Test
recovery on the exact model and confirm the schedule after power is
restored.
Can I run a
feeder on backup batteries all the time?
Not unless the manufacturer says it is designed for primary battery
operation. Some smart-feeder manufacturers describe their batteries as
emergency backup only.
How often
should feeder backup batteries be replaced?
Follow the manufacturer’s instructions and replace them before long
absences. Battery age, meal frequency, temperature, and feeder design
all affect runtime.
How long do
automatic feeder backup batteries last?
There is no universal runtime. Current manufacturer examples range
from 12 hours of scheduled operation for one refrigerated wet-food model
to several days for some dry-food feeders. Use only the estimate for the
exact model and do not assume that all smart functions remain
active.
Is
a battery-backed feeder safe to leave unattended for several days?
Battery backup reduces one failure risk but does not address jams,
empty food, water, litter-box care, illness, or other emergencies.
Arrange in-person checks during longer absences.
Written by: Pet Tech Compass Editorial Team Last reviewed: July 30, 2026
By Pet Tech Compass Editorial Team Last reviewed: July 29, 2026
Yes, some automatic cat feeders continue dispensing scheduled meals without Wi-Fi—but not every model does. Feeders that store meal schedules inside the device may keep working offline, while remote feeding, app controls, notifications, cameras, and cloud records usually stop until the connection returns.
Before buying a feeder, confirm three things:
Is the feeding schedule stored locally on the feeder?
Can the feeder be programmed without an app?
Does its battery backup power the dispensing motor?
Wi-Fi loss and power loss are different problems. A feeder may continue working without an internet connection but stop dispensing food if it loses electrical power.
Related Guide: What Happens During a Power Outage?
Battery backup does not work the same way in every feeder. Learn whether scheduled meals, the motor, Wi-Fi, cameras, and refrigeration can continue when wall power fails.
How we researched this guide: This article is based on manufacturer specifications, official support documents, and publicly available product information. Offline behavior varies by model.
Affiliate disclosure: This article may contain affiliate links. If you purchase through one of these links, we may earn a commission at no additional cost to you.
Automatic Feeders and Smart Feeders Are Different
An automatic feeder does not necessarily require Wi-Fi.
A basic automatic feeder uses onboard buttons, a timer, or a rotating tray to dispense food at scheduled times. A smart feeder adds app connectivity, remote controls, notifications, feeding records, cameras, or other connected features.
Petlibro describes the distinction this way: all smart feeders are automatic feeders, but not all automatic feeders are smart. Traditional automatic feeders can release scheduled portions without app connectivity, while smart models use a network connection for remote functions. Petlibro’s automatic feeder overview
AI-generated illustrative image: onboard controls and app-based feeder settings.
Buyers have three main options:
Feeder type
How it is programmed
What happens without Wi-Fi
Best for
Non-Wi-Fi programmable feeder
Buttons, display, or dial
Saved schedules continue if the feeder has power
Simplicity, privacy, and unreliable internet
Smart feeder with local schedule storage
App, sometimes with onboard controls
Saved meals may continue, but connected features stop
Remote features with basic offline protection
App- or cloud-dependent feeder
App or online account
Behavior varies and must be confirmed by model
Buyers who prioritize connected features
PetSafe offers both non-connected digital-timer feeders and Wi-Fi-connected smart feeders. Its 5 Meal Pet Feeder uses a digital timer, while its Smart Feed model connects to the My PetSafe app. PetSafe feeder range
Never assume a feeder stores its schedule locally. Look for explicit confirmation in the manual or contact the manufacturer with the exact model number.
What Happens When Wi-Fi or Power Goes Out?
The result depends on what failed and how the feeder was designed.
Situation
Scheduled meals
App, camera, alerts, and logs
Internet down, feeder still powered
Model-dependent
Cloud-based features are generally unavailable
Feeder disconnected from Wi-Fi
Model-dependent
Connected features are unavailable
Power out, no battery backup
No
No
Power out, working battery backup
Continues only if batteries power the motor and the schedule is stored locally
Energy-intensive features are often unavailable
Non-Wi-Fi feeder with working batteries
Continues if the batteries power the motor and the schedule is stored locally
Not applicable
Wi-Fi is the local wireless connection between the feeder and your router. Your router can still broadcast Wi-Fi when its internet service is down, but the feeder may be unable to reach the manufacturer’s cloud service.
Electrical power is separate. A feeder needs enough power to operate its motor. Battery backup only protects scheduled feeding if the batteries actually run that motor rather than merely preserving the clock or settings.
AI-generated illustrative image: checking whether backup batteries can power the feeder.
Can a Smart Feeder Continue Scheduled Meals Offline?
Some can.
Petlibro states that its Granary Smart Feeder continues scheduled feeding when offline after the schedule has been saved. When operating on backup batteries, scheduled meals continue, but Wi-Fi and some controls are disabled to conserve energy. Offline feeding records upload after the feeder reconnects. Petlibro Granary Smart Feeder support information
This example does not prove that every smart feeder behaves the same way.
Even when scheduled feeding continues, the following features may stop:
Remote manual feeding
Schedule changes through the app
Meal-completion notifications
Low-food and blockage alerts
Live camera viewing
Cloud recording and, on some models, local video recording
Feeding-history synchronization
Shared household controls
Firmware updates
Remote status checks
Petlibro states that certain camera feeder models require an initial internet connection and stop recording during a network interruption, even when scheduled feeding continues. Petlibro camera feeder support information
If cameras, real-time alerts, or remote status checks are essential, an offline feeder will not provide the same experience as a connected one.
Do You Need Wi-Fi for Initial Setup?
Many smart feeders require Wi-Fi during setup, even if they can later follow a saved schedule offline.
The setup process may be needed to:
Register the feeder
Create an app account
Set its time and time zone
Build the meal schedule
Choose portion settings
Configure notifications
Install firmware updates
Some models only support 2.4GHz Wi-Fi. If setup fails on a combined 2.4GHz and 5GHz network, follow the manufacturer’s instructions for connecting the feeder to the supported 2.4GHz band. Petlibro’s U.S. support documentation, for example, directs owners of certain Essential Wi-Fi models to confirm a 2.4GHz connection when troubleshooting. Petlibro connectivity support
A temporary internet outage after setup is different from using a feeder in a home that has no Wi-Fi at all. If you never want to use an app, choose a model that can be programmed with physical controls.
Are Non-Wi-Fi Feeders More Private?
A non-connected feeder has fewer network and cloud dependencies. It normally does not need to:
Join your home Wi-Fi network
Create an app account
Send feeding records to a cloud service
Use an internet-connected camera or microphone
Depend on the manufacturer maintaining an app
That can appeal to buyers concerned about privacy, discontinued online services, or unnecessary accounts.
However, non-Wi-Fi does not automatically mean more reliable. A basic feeder can still suffer from food jams, low batteries, motor failure, incorrect programming, clock errors, or a pet opening or tipping the device. Connectivity is only one part of feeder reliability.
Is Your Feeder Connected but Not Dispensing Food?
Check the schedule, food outlet, rotor, motor, and power supply step by step before increasing the programmed portion.
Before buying, find clear answers to these questions:
Question
Why it matters
Are schedules stored inside the feeder?
Determines whether meals continue offline
Can it be programmed with physical controls?
Reduces dependence on the app
Do backup batteries run the motor?
Protects feeding during a power outage
Which functions stop offline?
Reveals the loss of cameras, alerts, or logs
Does it reconnect without losing its schedule?
Affects recovery after an outage
What happens if the app or cloud service is unavailable?
Shows how dependent the feeder is on online services
If the product page does not answer these questions, check the manual or contact the manufacturer using the exact model number.
How to Test a Feeder Before Relying on It
Test both internet loss and power loss before leaving your cat alone.
Create a small scheduled meal.
Confirm that the schedule has synchronized.
Disconnect the feeder from Wi-Fi or turn off the router.
Keep the feeder connected to wall power.
Confirm that the scheduled portion is dispensed.
Reconnect the network and check the feeding log.
Disconnect wall power.
Confirm that battery backup operates the motor.
Check which buttons and connected features stop working.
Restore normal power and verify future schedules.
AI-generated illustrative image: testing a saved feeding schedule with the router turned off.
Use a small amount of food and record the result. Repeat the test after major firmware or router updates.
Safety Limitations
Automatic feeders can still fail because of empty hoppers, jammed kibble, depleted batteries, incorrect settings, mechanical problems, or moisture affecting the food.
Test the feeder before relying on it and arrange in-person care during longer absences. An automatic feeder does not replace fresh water, litter-box maintenance, supervision, or veterinary care.
Final Answer
Some automatic cat feeders work without Wi-Fi, but only when their design supports offline operation. A locally stored schedule may continue while app controls, cameras, notifications, and cloud records remain unavailable.
For the most reliable offline setup, look for:
Locally stored meal schedules
On-device programming controls
Battery backup that powers the motor
Clear documentation of offline behavior
Manual dispensing
Reliable recovery after Wi-Fi and power outages
Choose a traditional programmable feeder if you want no app, account, or cloud dependency. If offline feeding is important to you, choose a smart feeder only when the manufacturer explicitly confirms local schedule storage and battery-backed dispensing.
Frequently Asked Questions
Can an automatic feeder work in a home with no internet?
Yes, if it can be programmed directly on the device. An app-only smart feeder may require internet for setup and schedule changes.
Will a smart feeder dispense food when the router is off?
Some models continue saved schedules while offline. Confirm this for the exact model before buying.
Will battery backup keep the app and camera working?
Often not. Some feeders disable Wi-Fi, cameras, and other energy-intensive functions while using backup batteries.
Is a non-Wi-Fi feeder always more reliable?
No. It avoids network and cloud failures but can still experience battery, motor, programming, and food-jam problems.